Replacement windows
October 2024
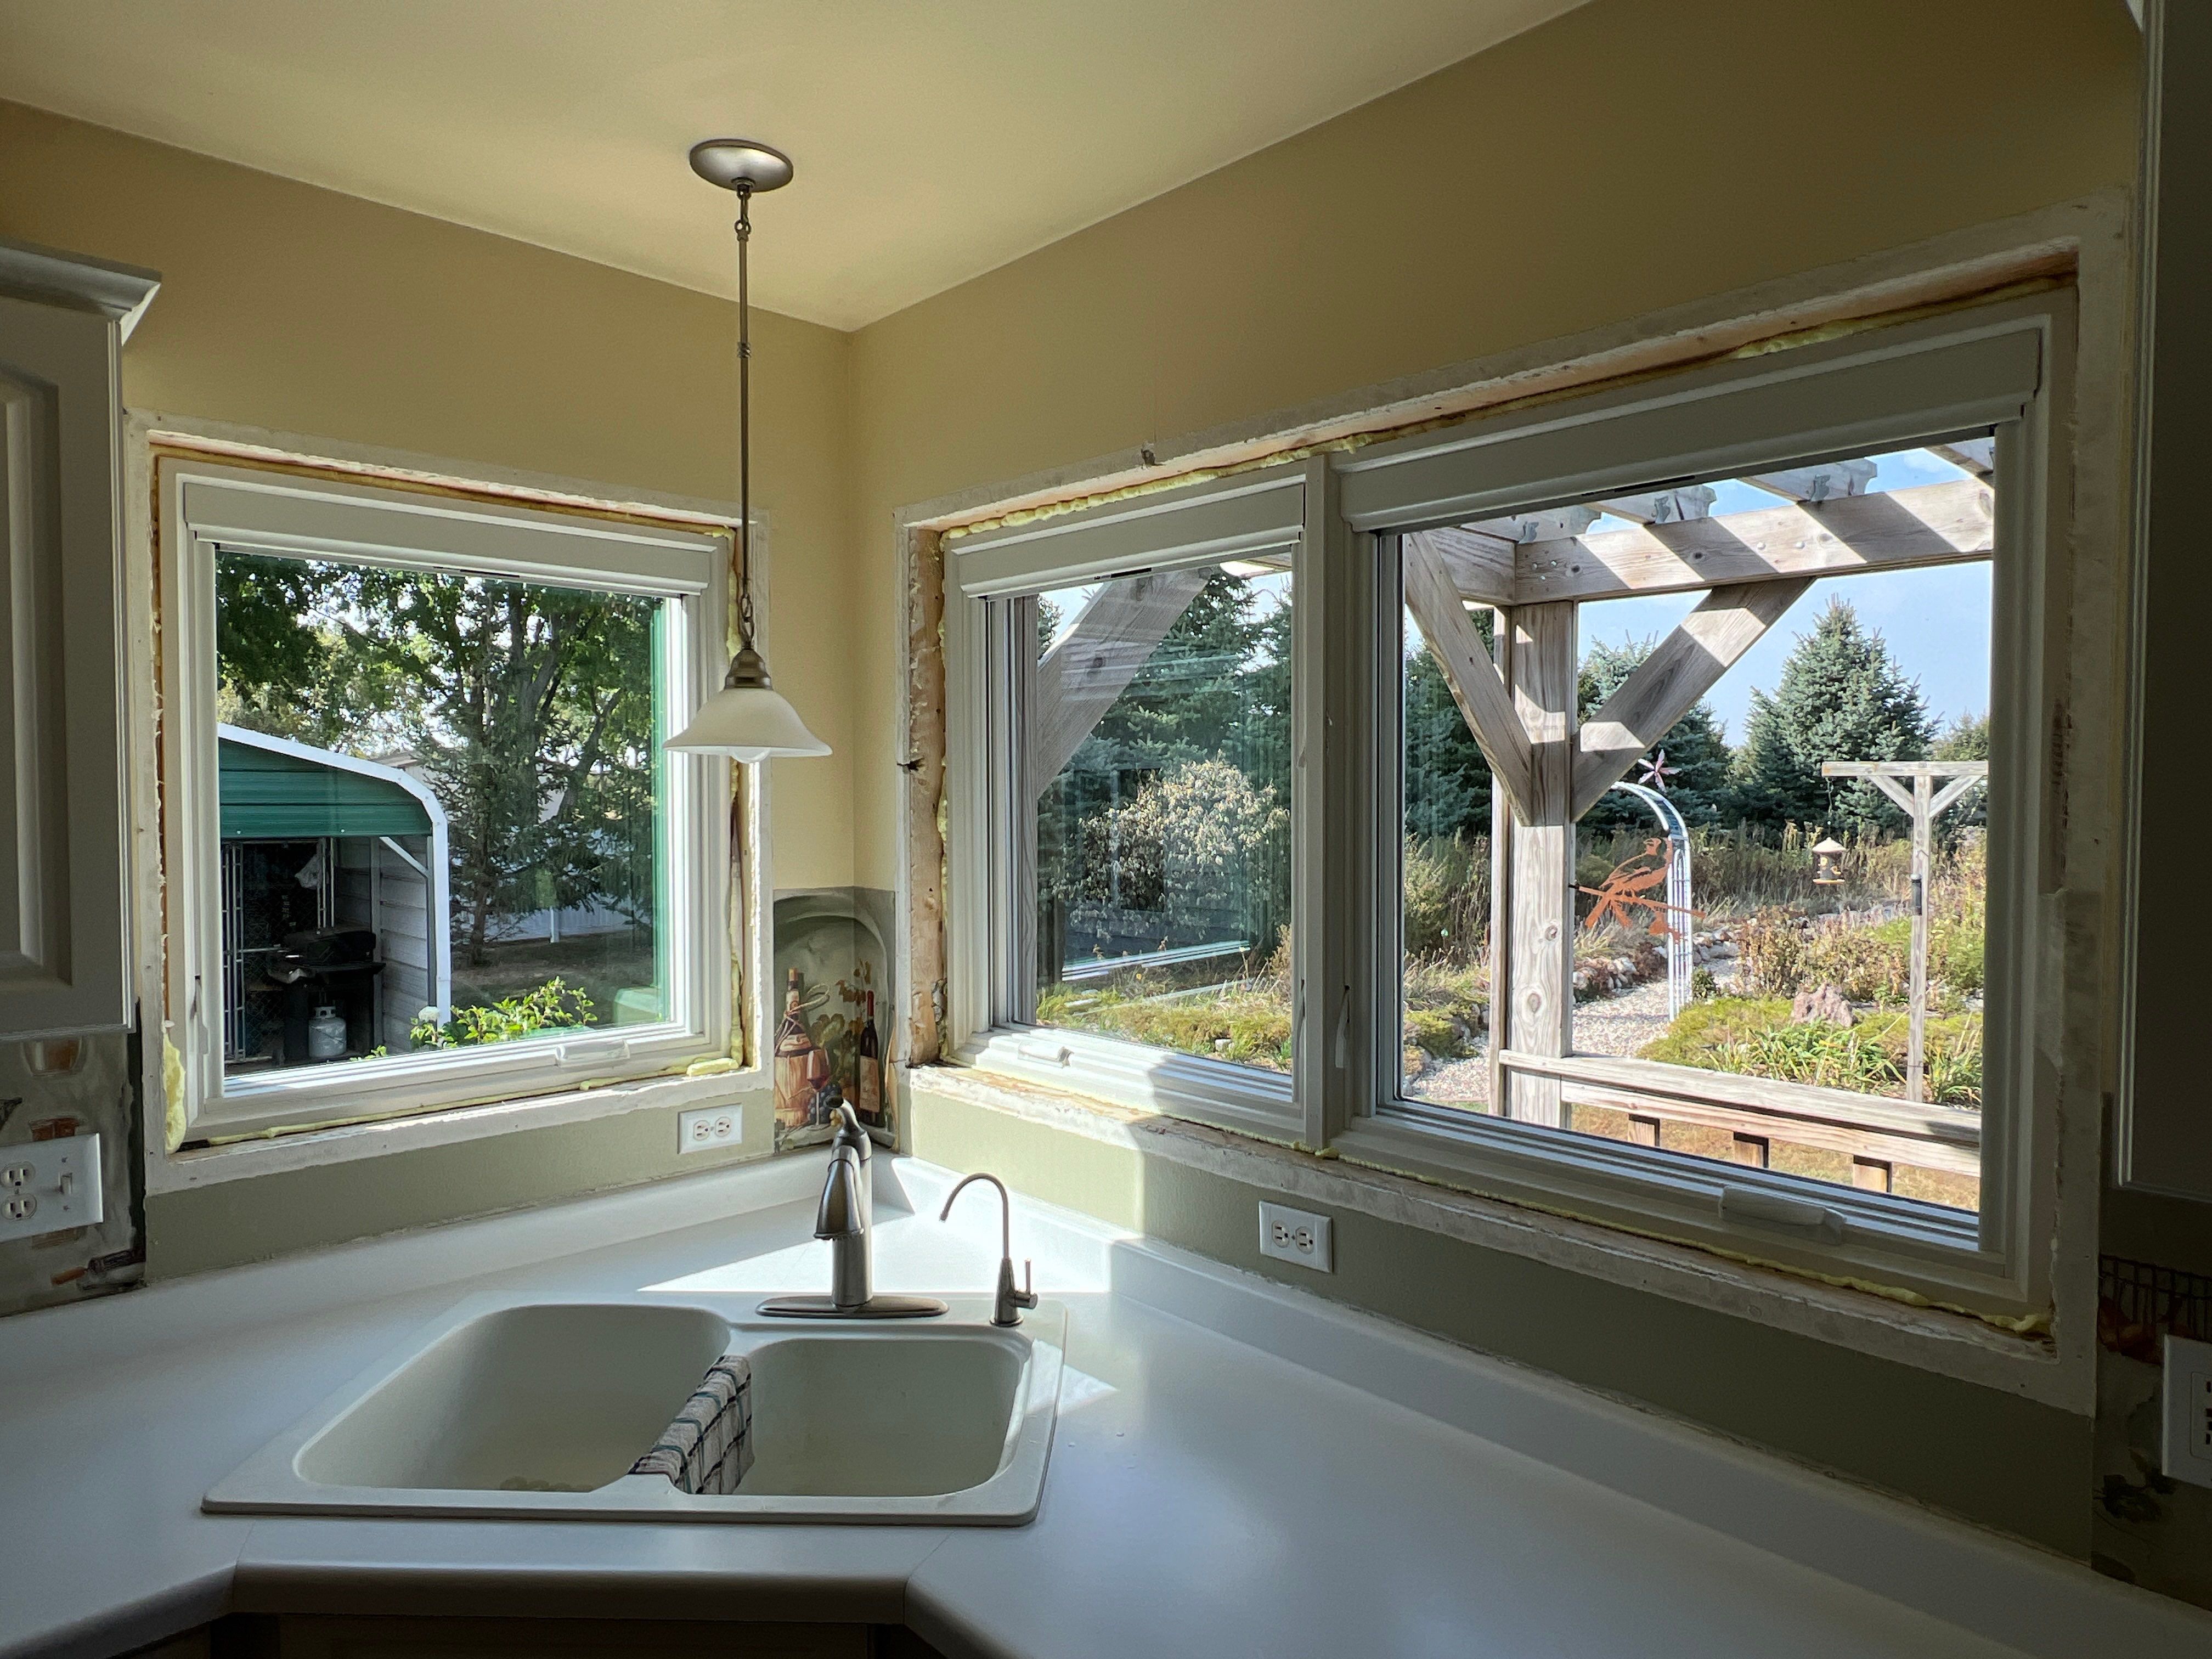
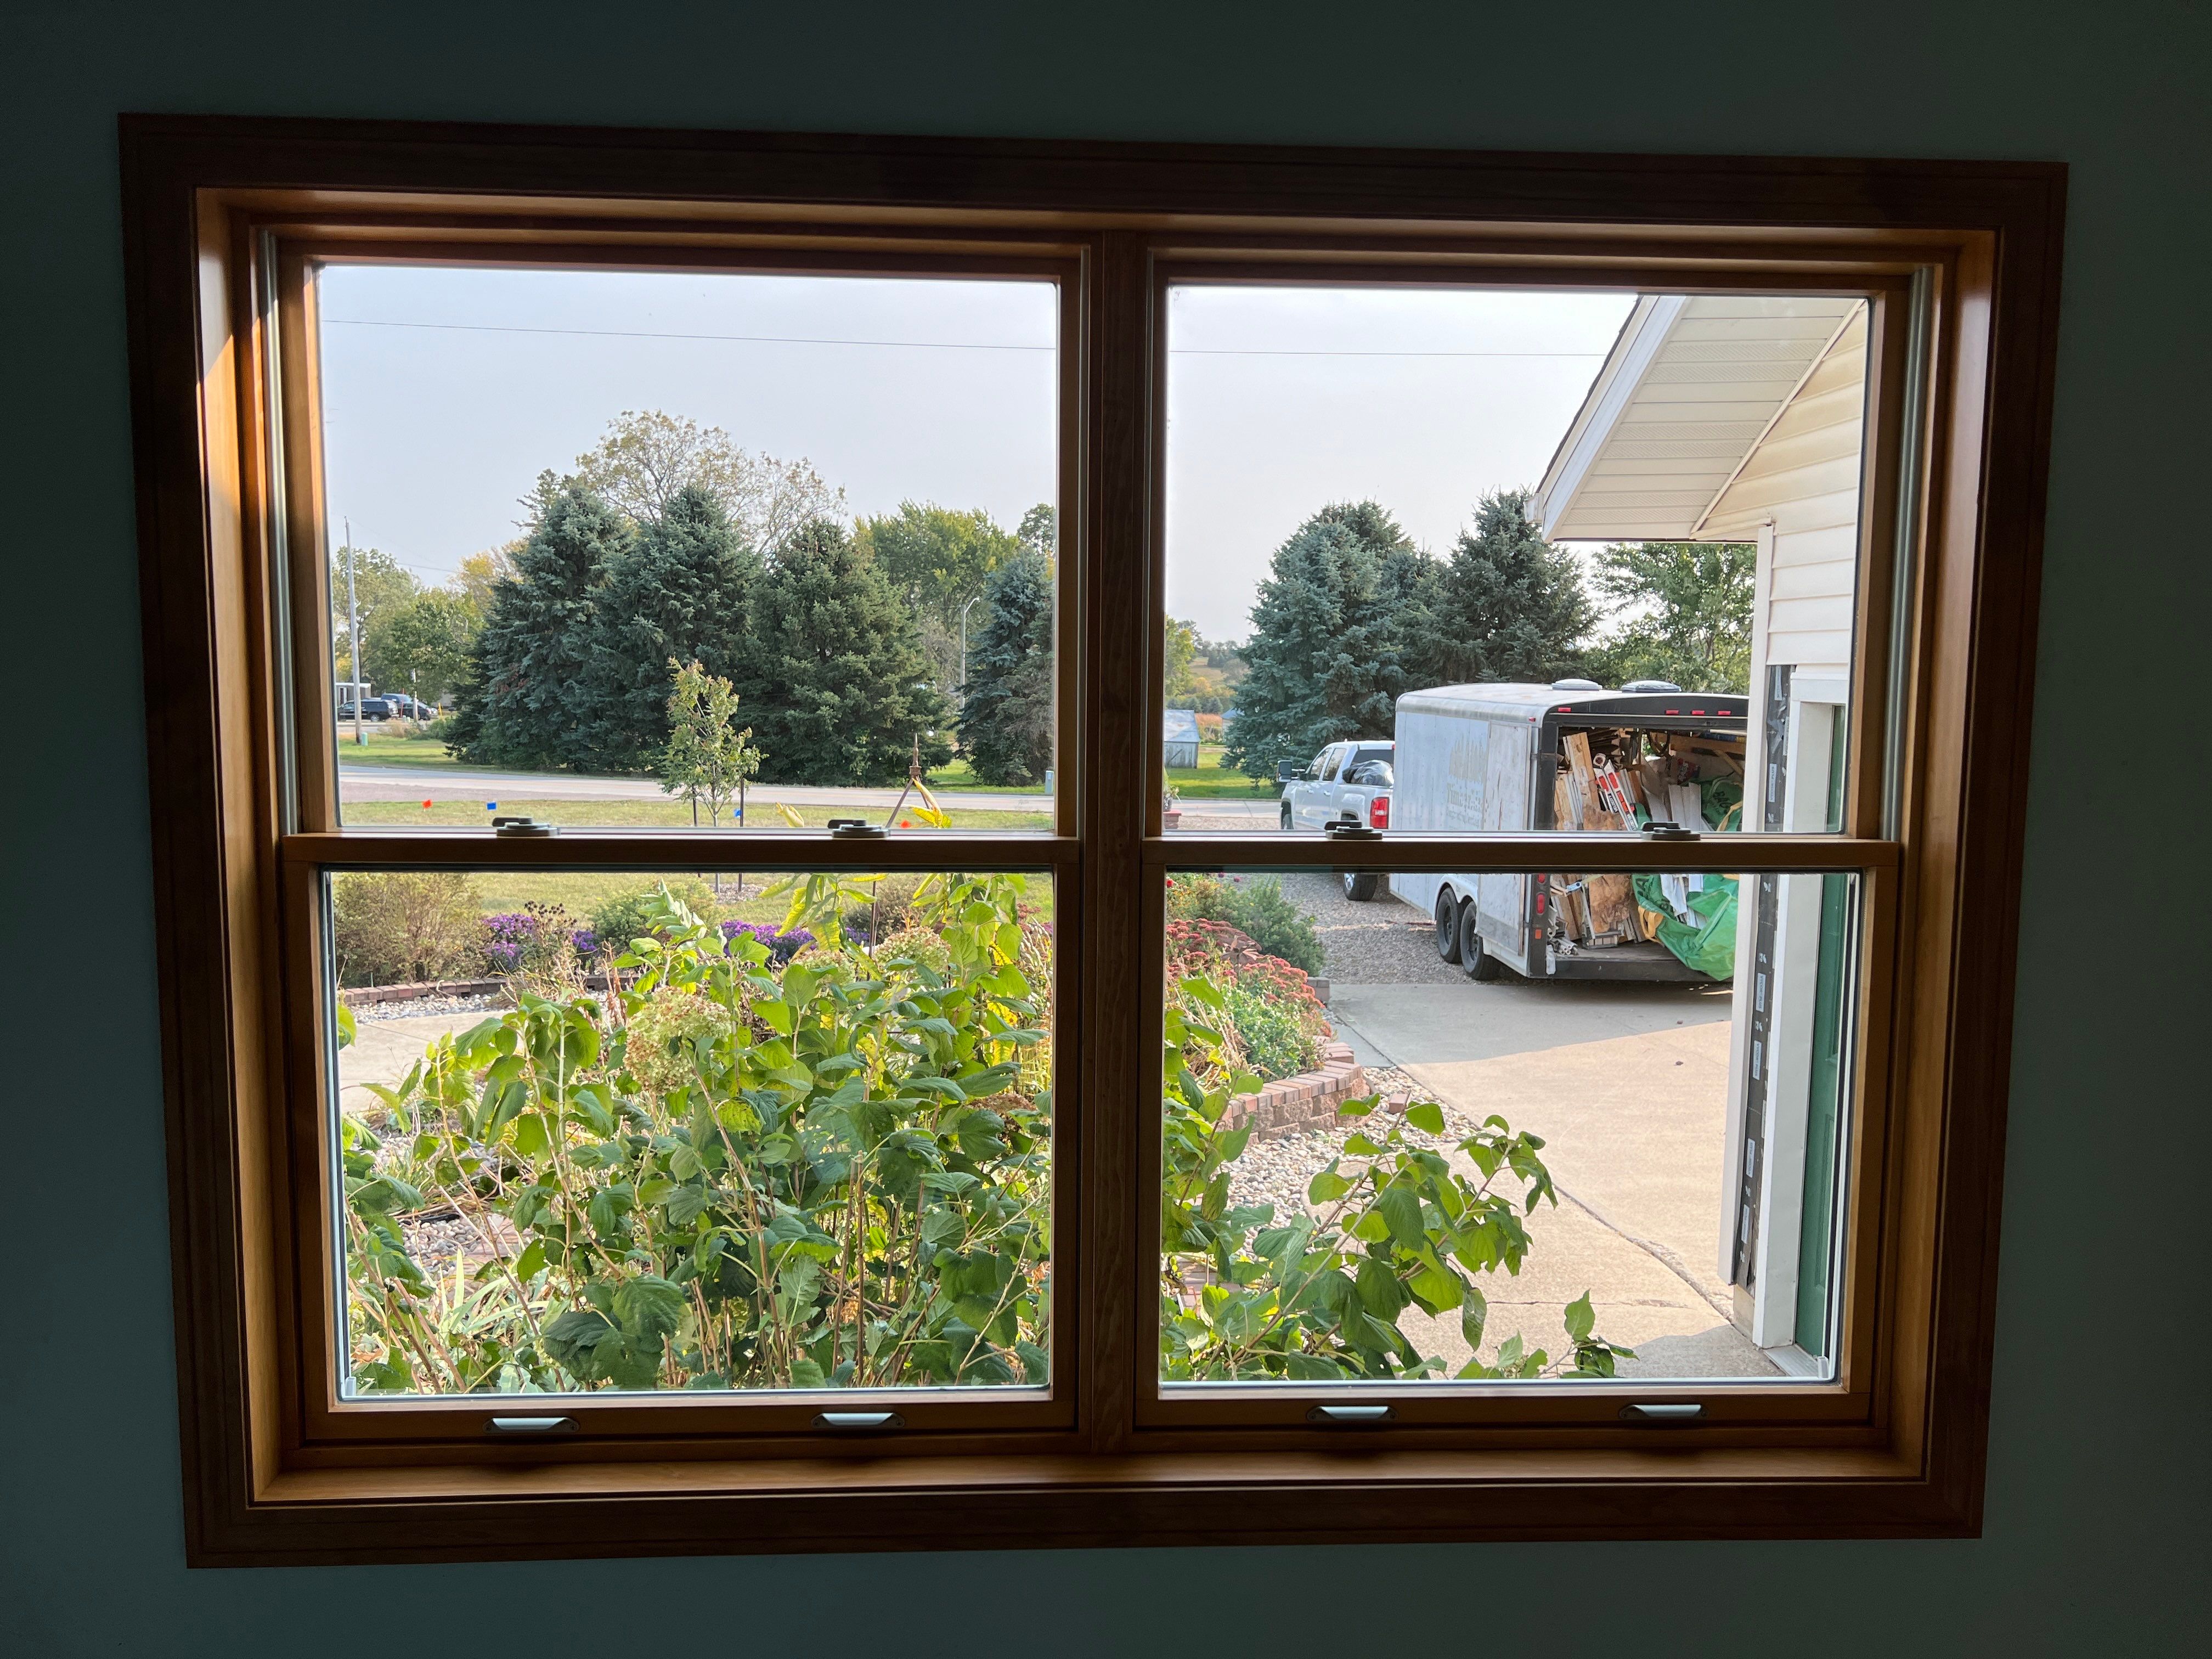
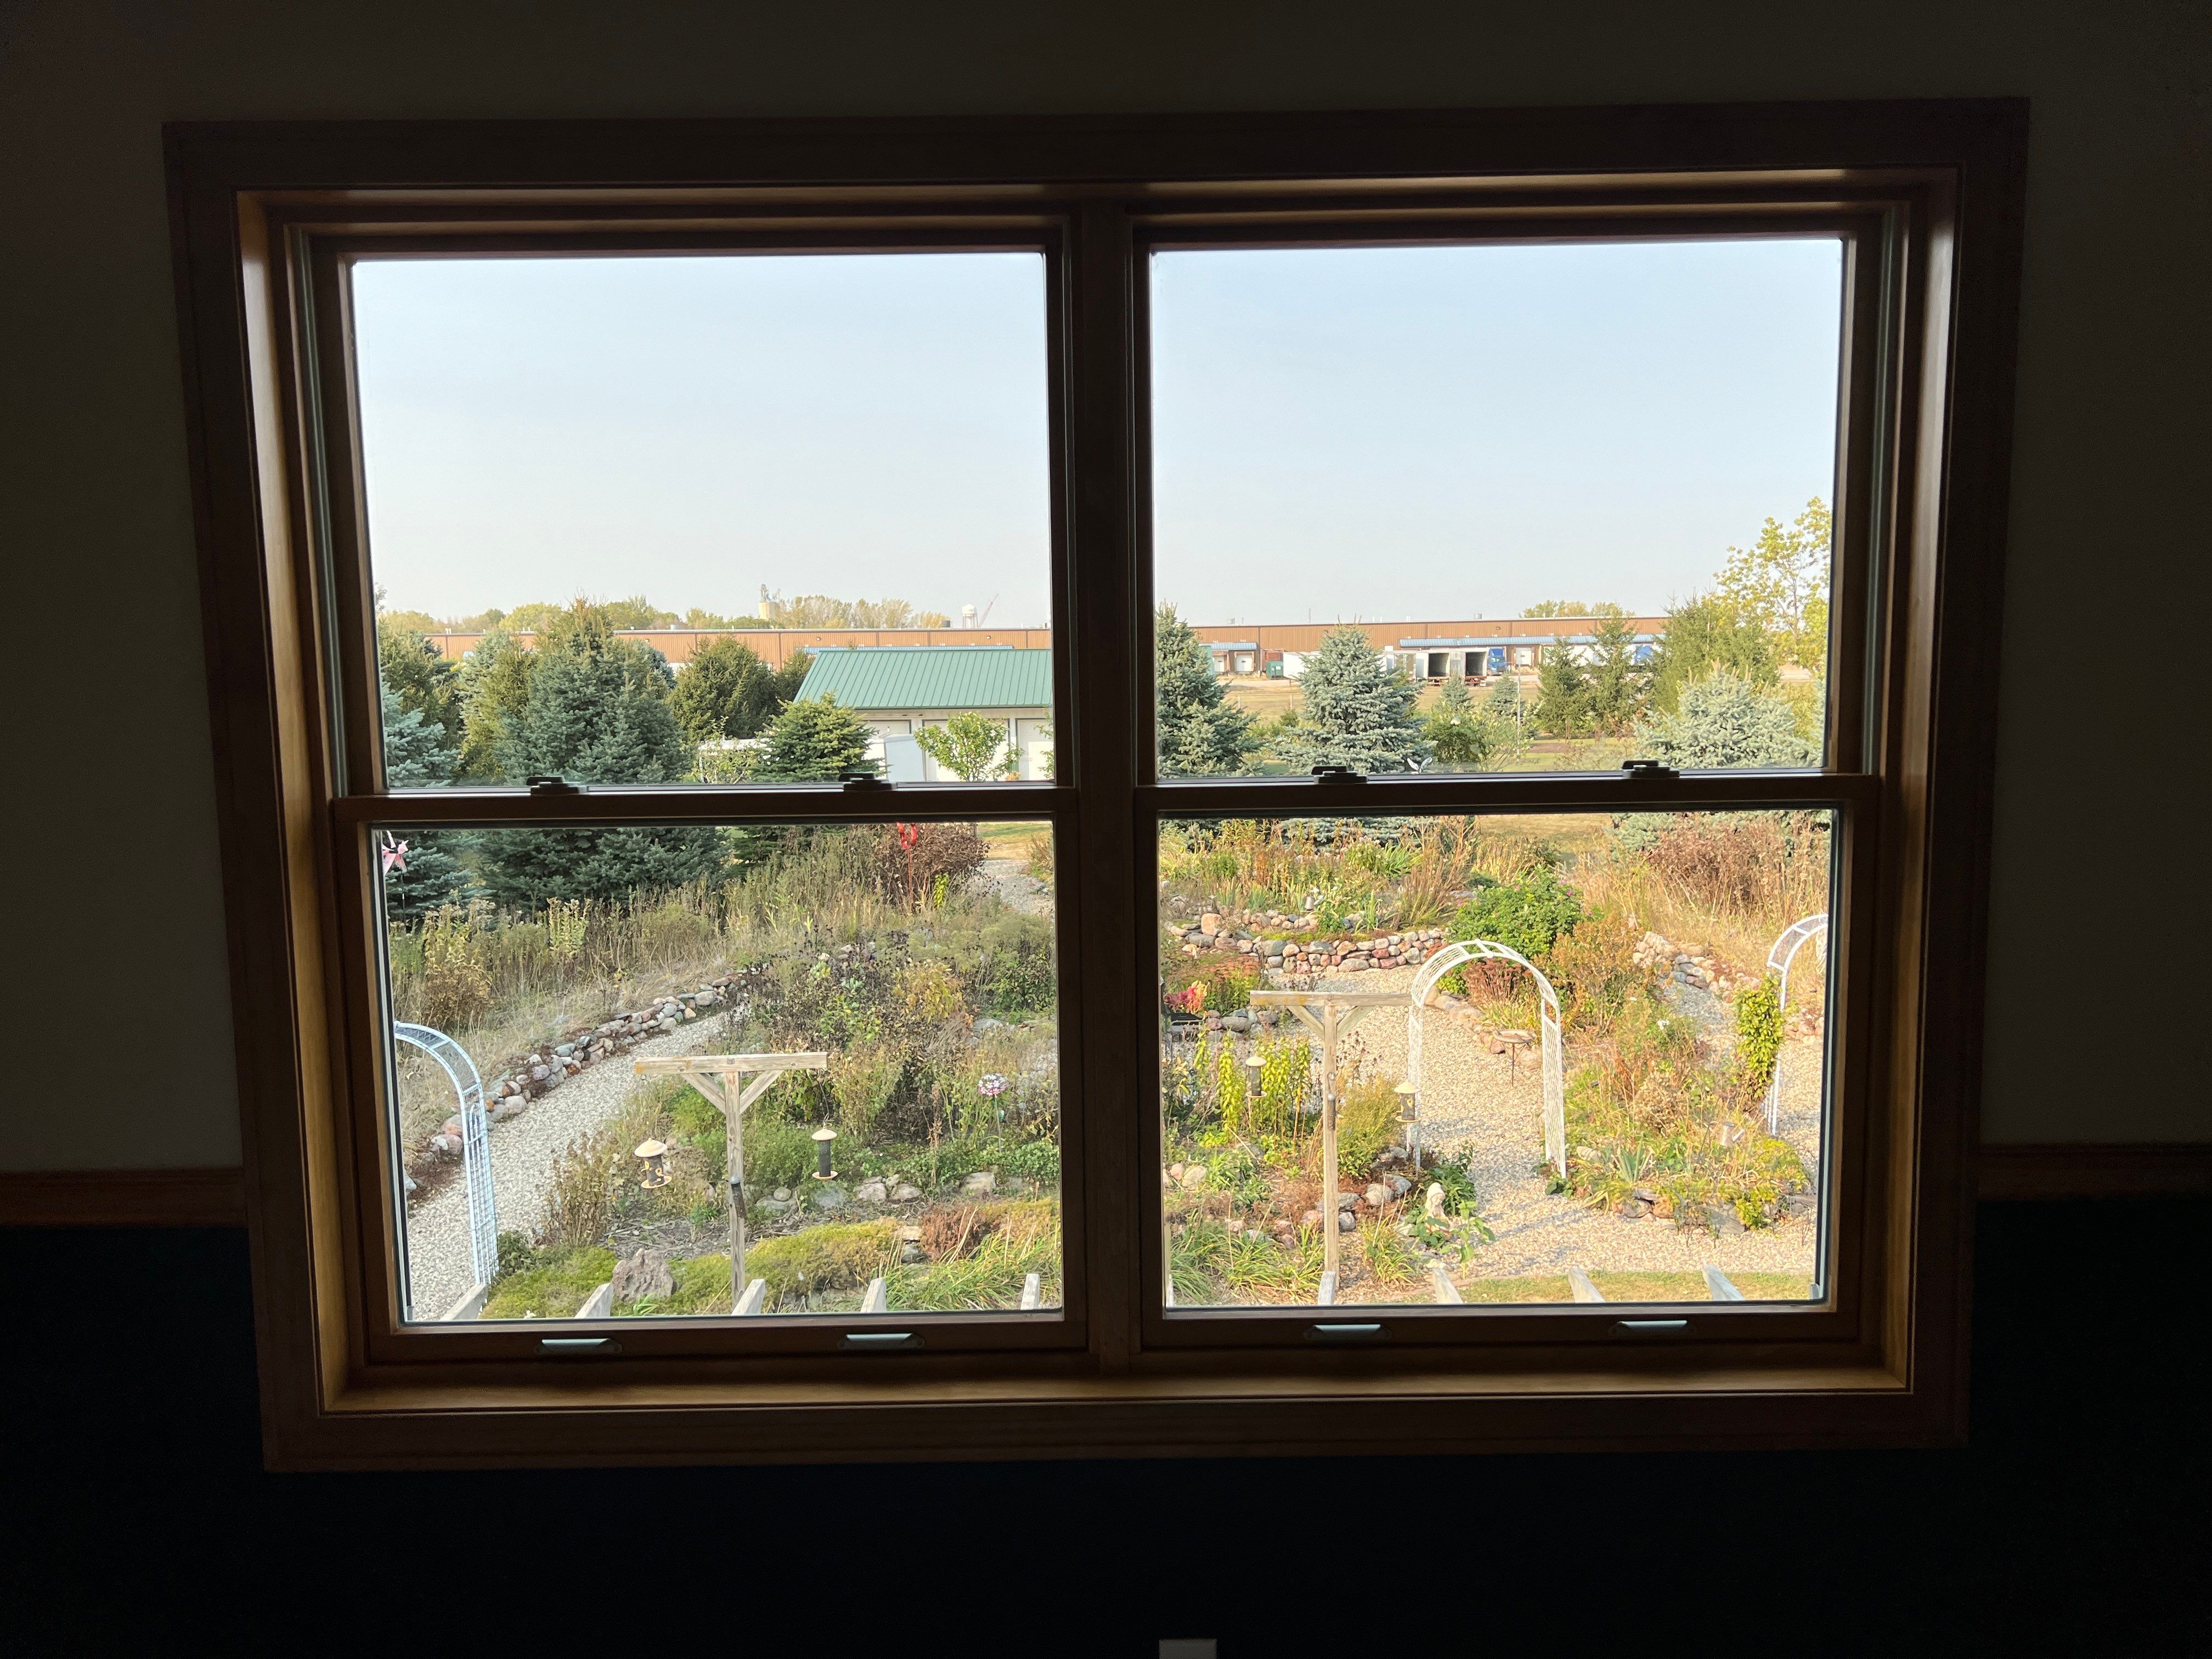
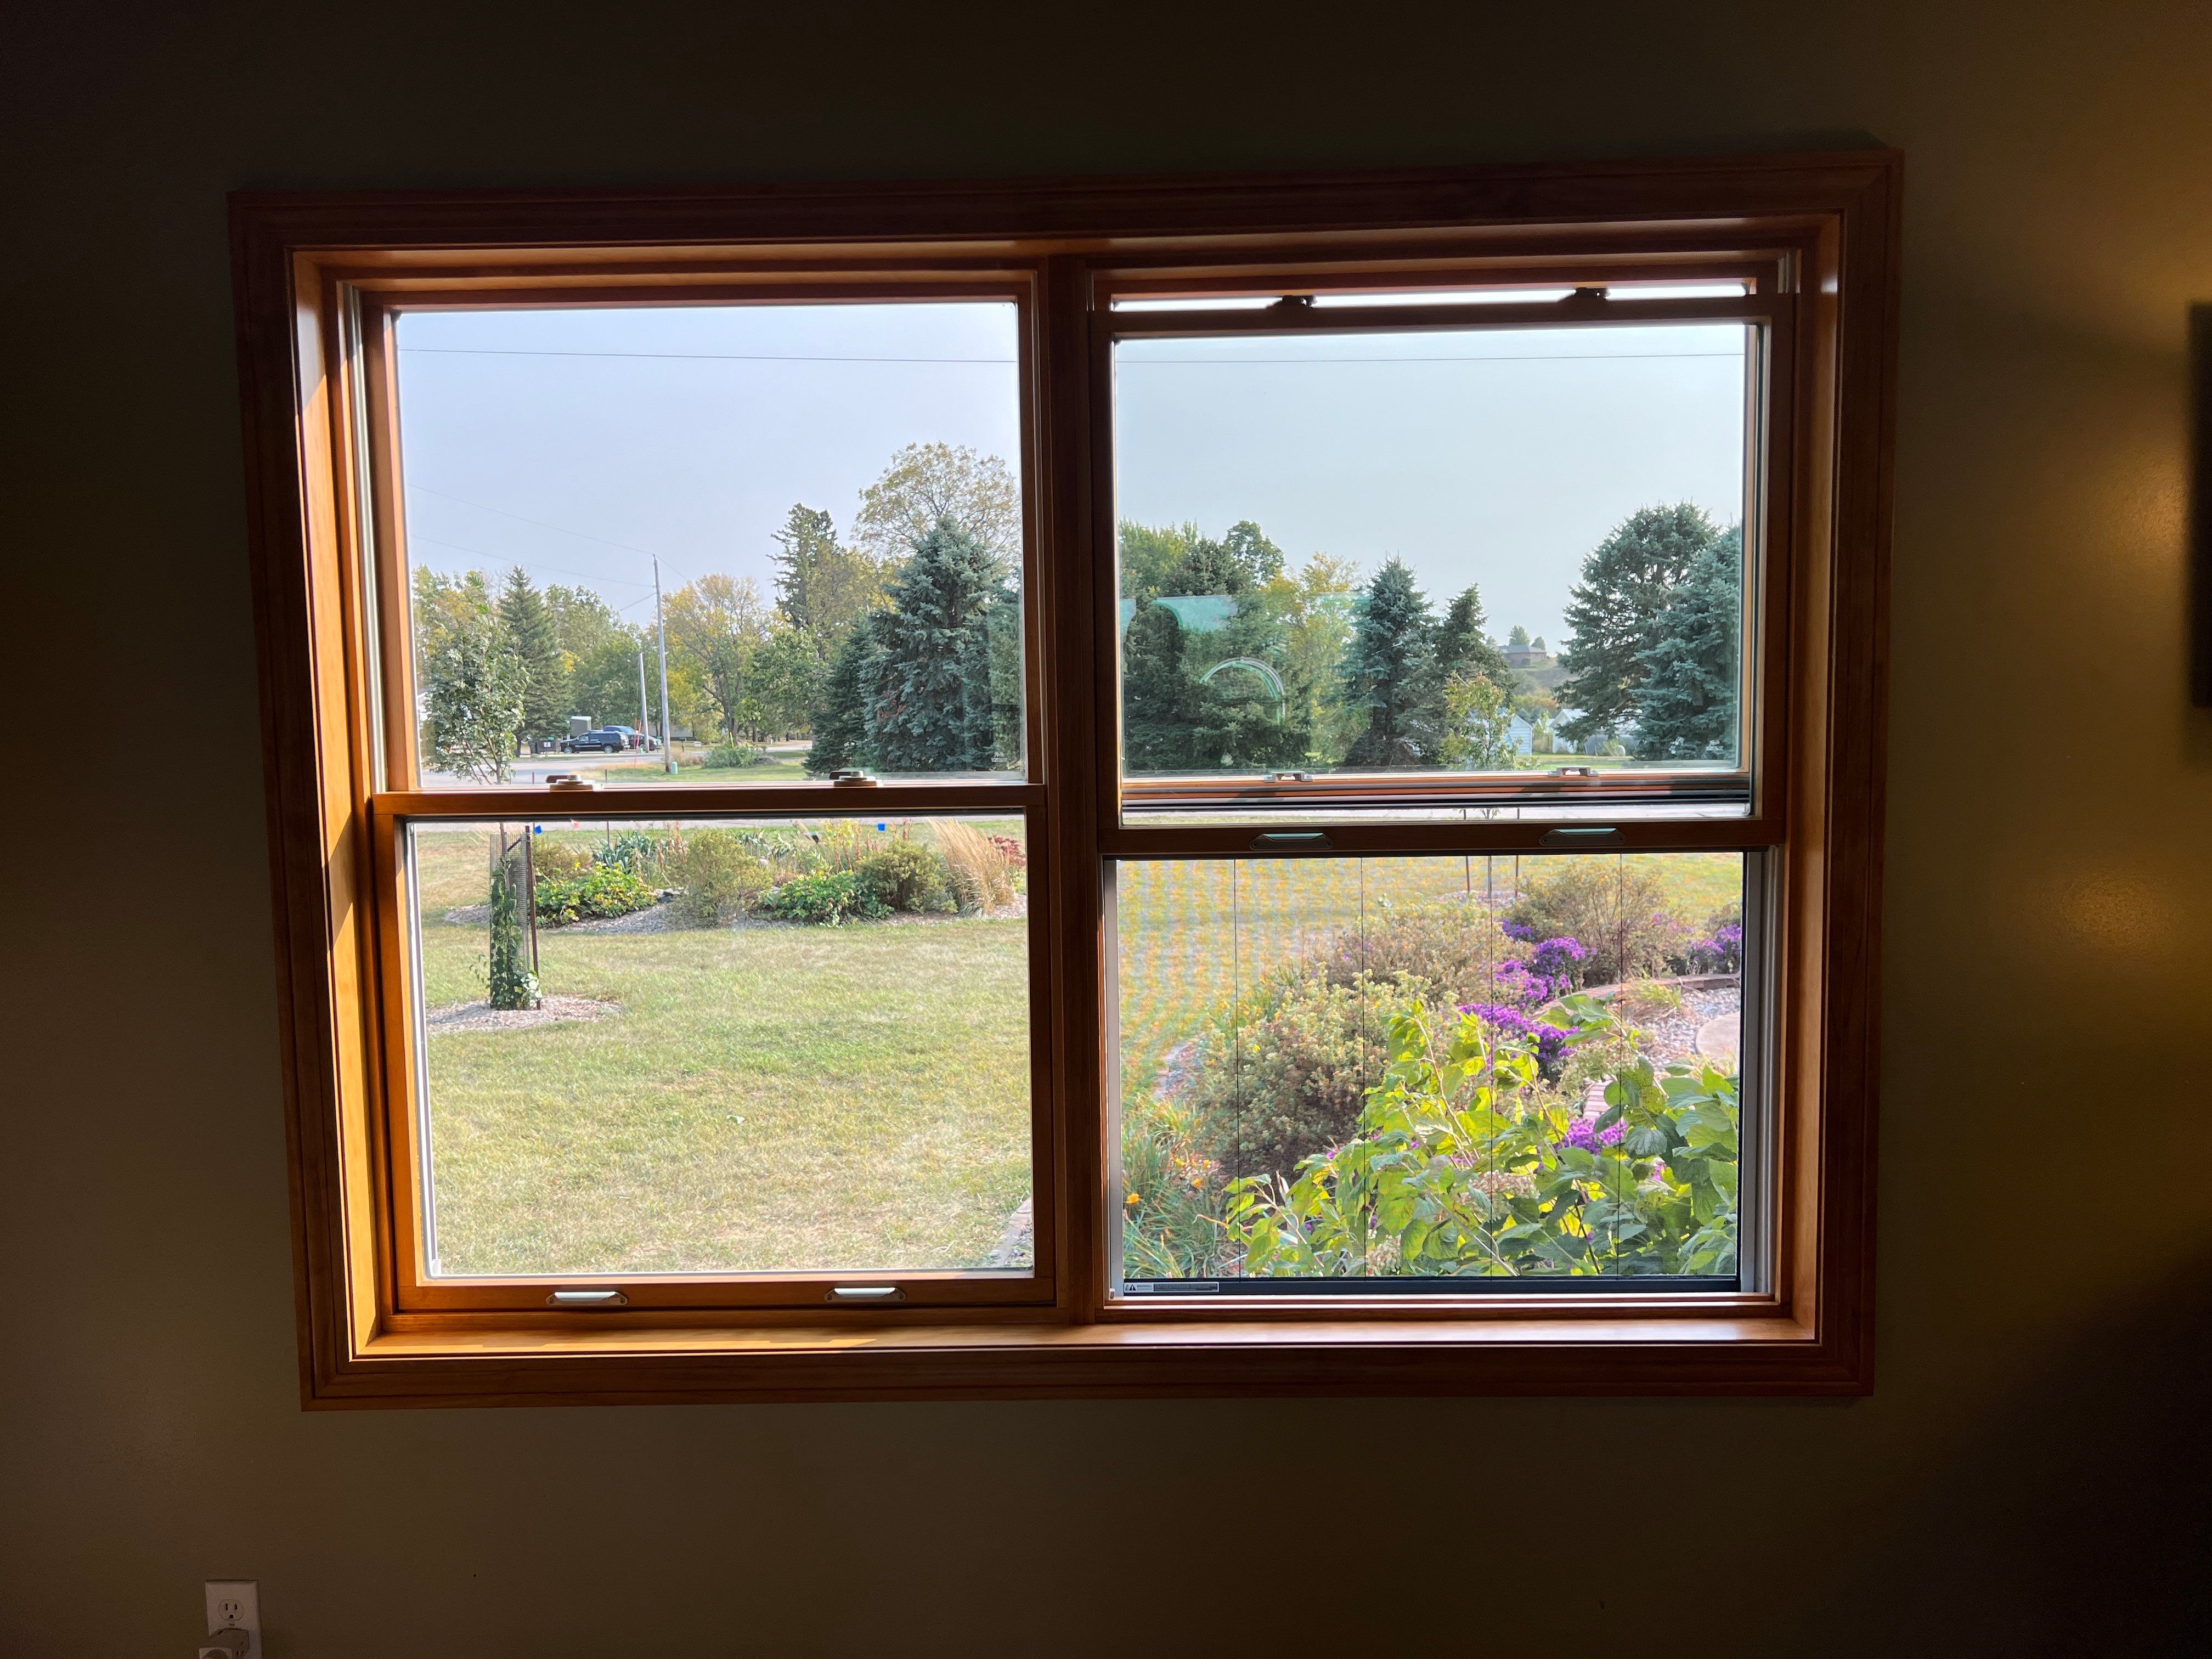
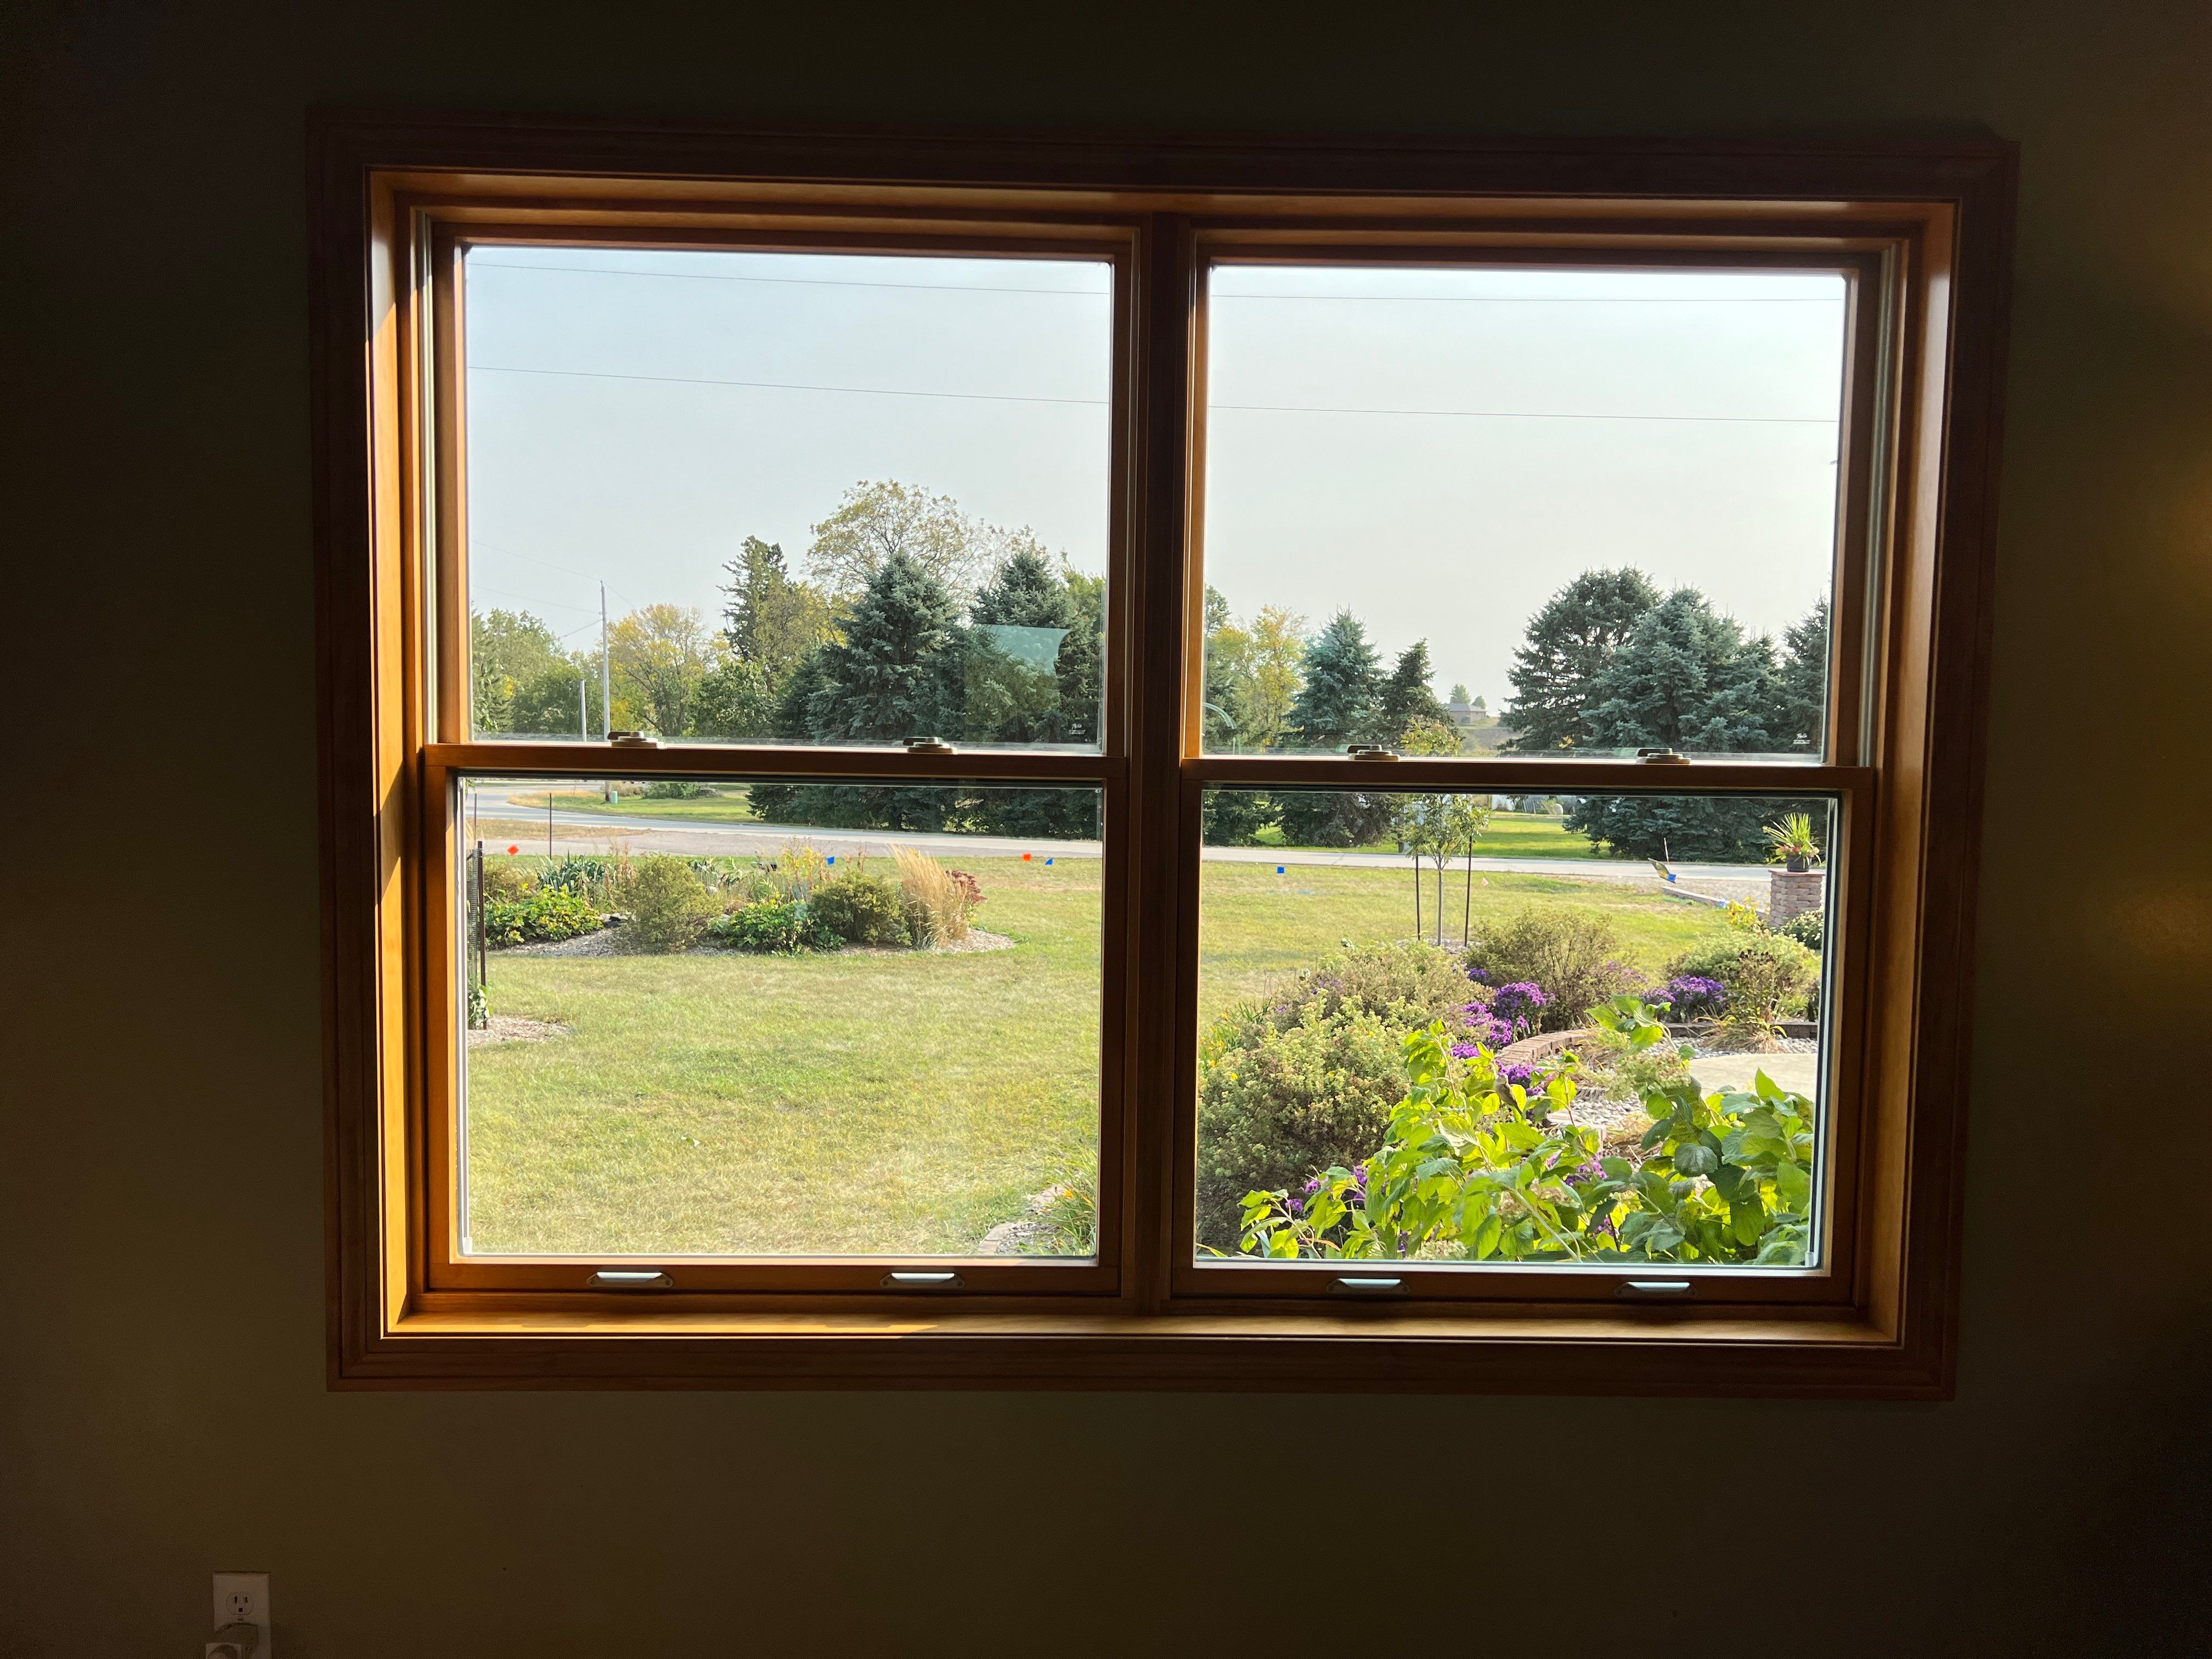
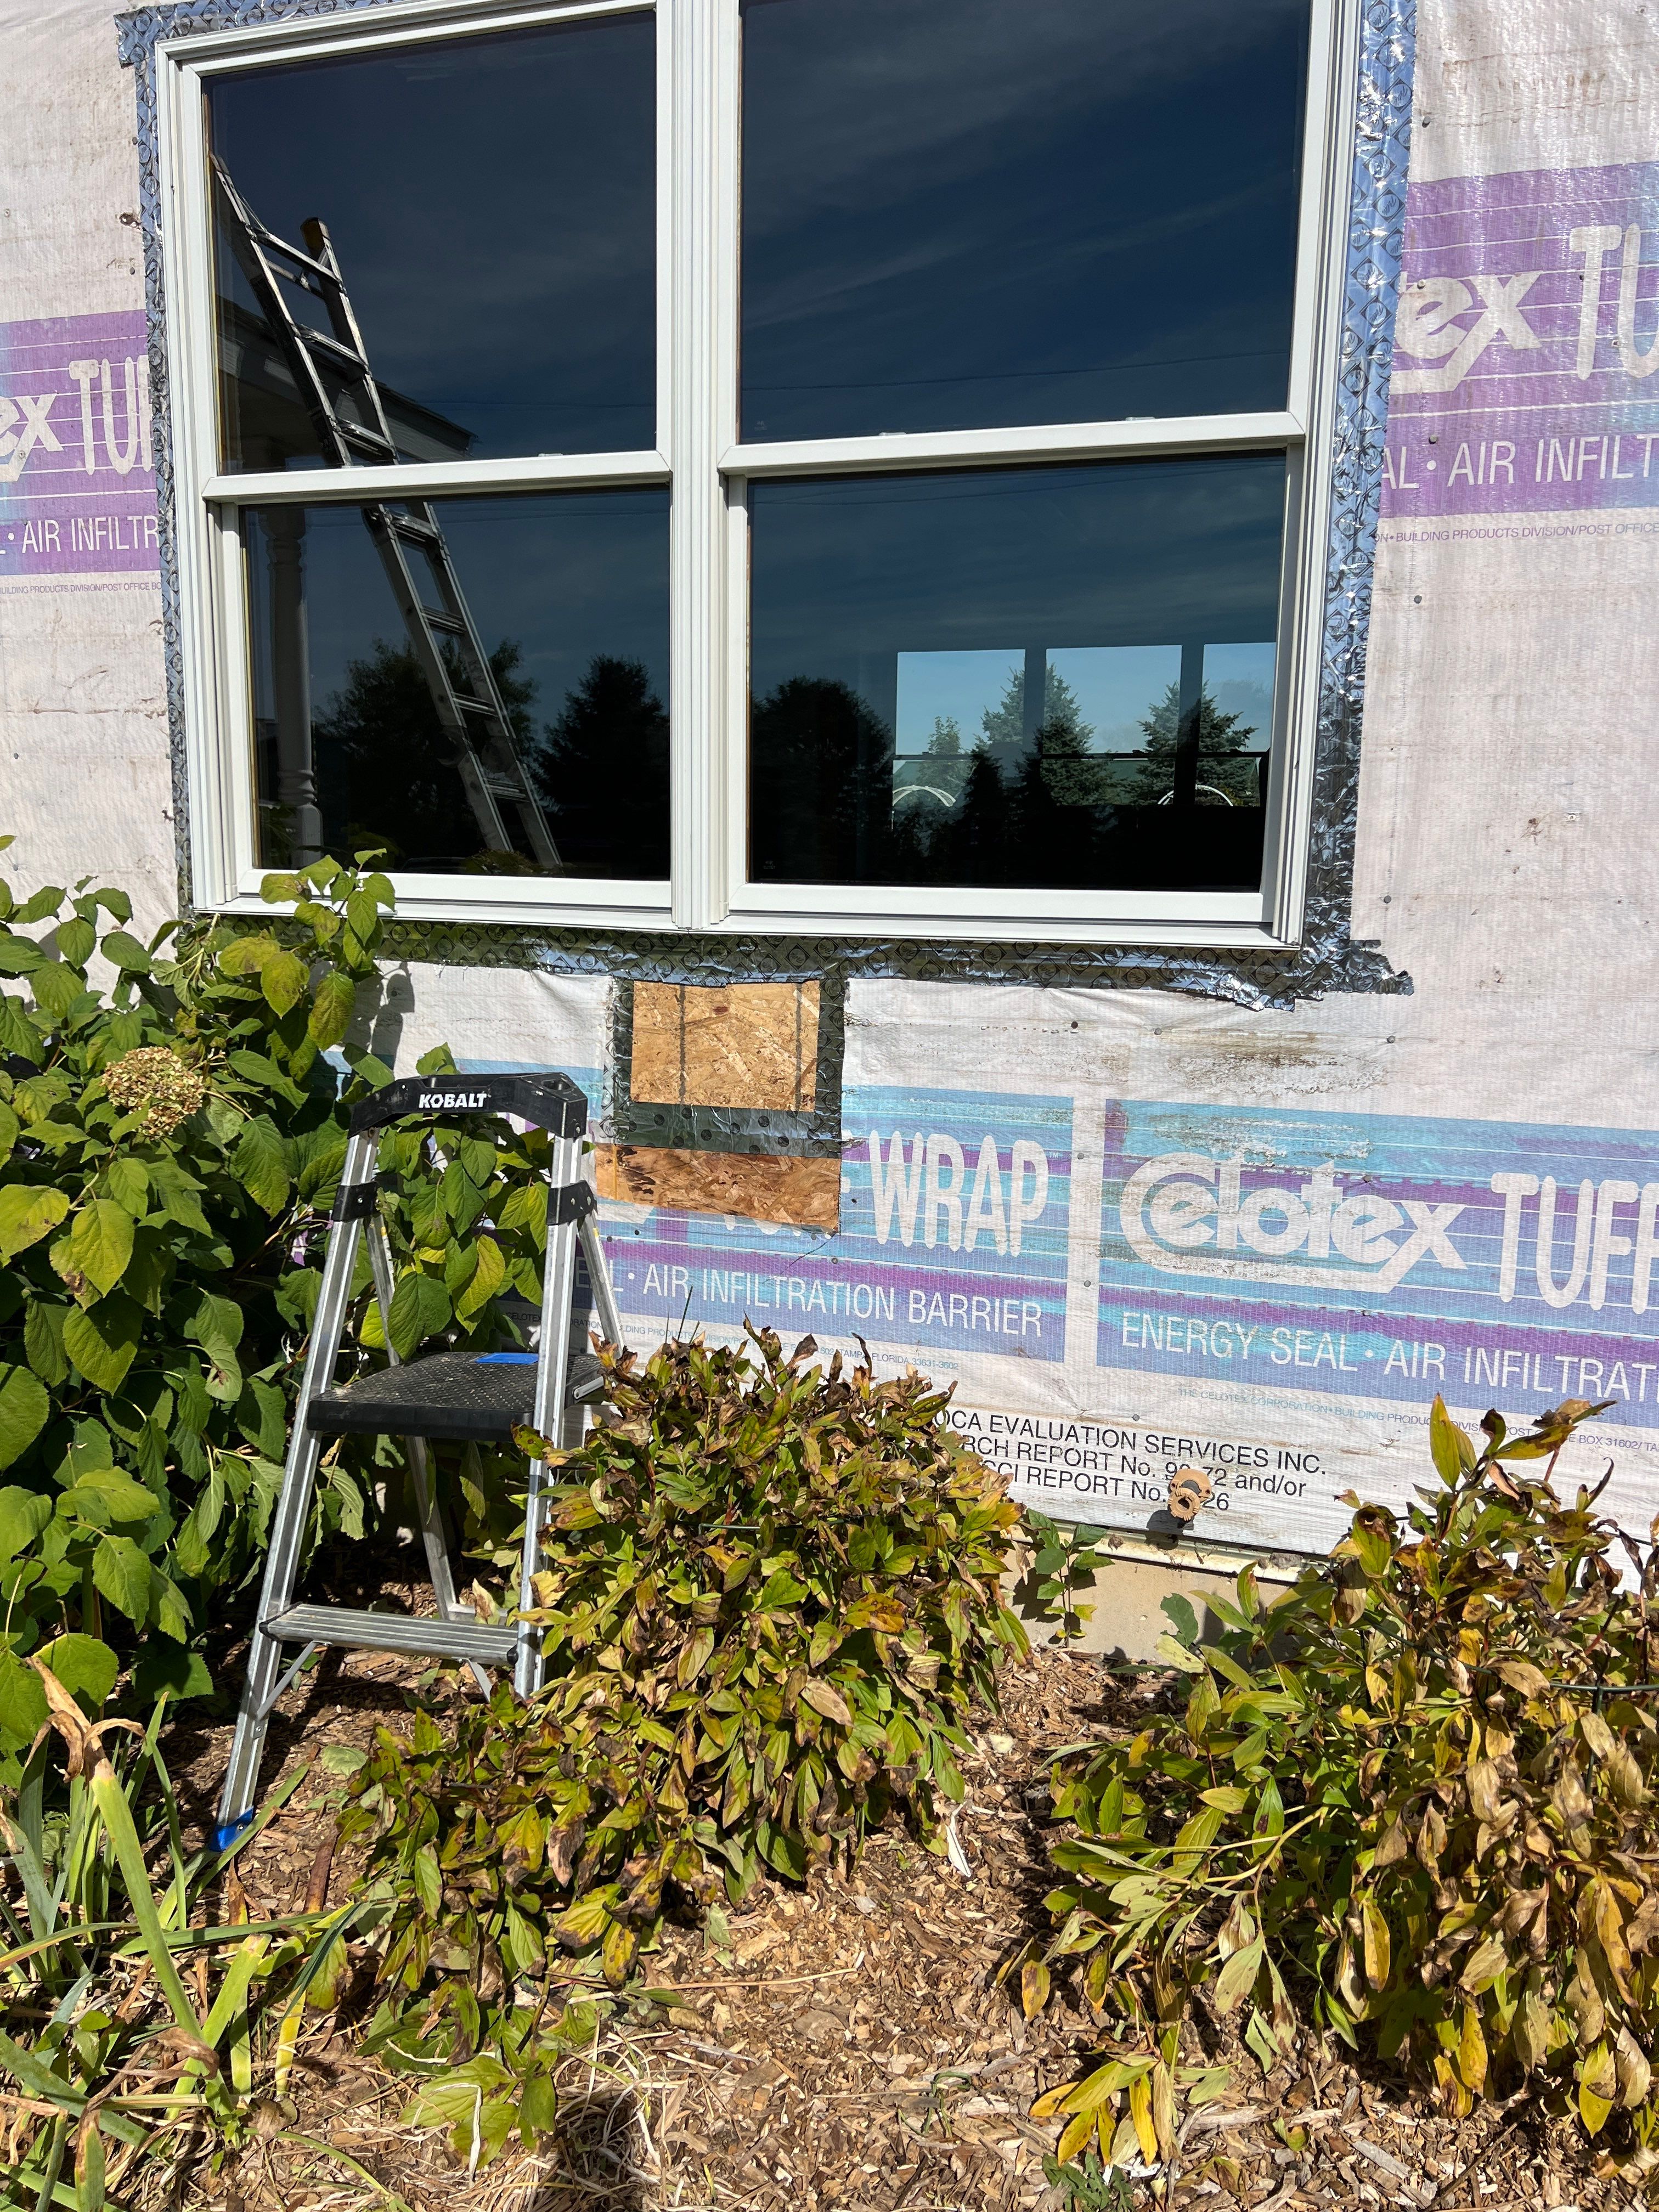
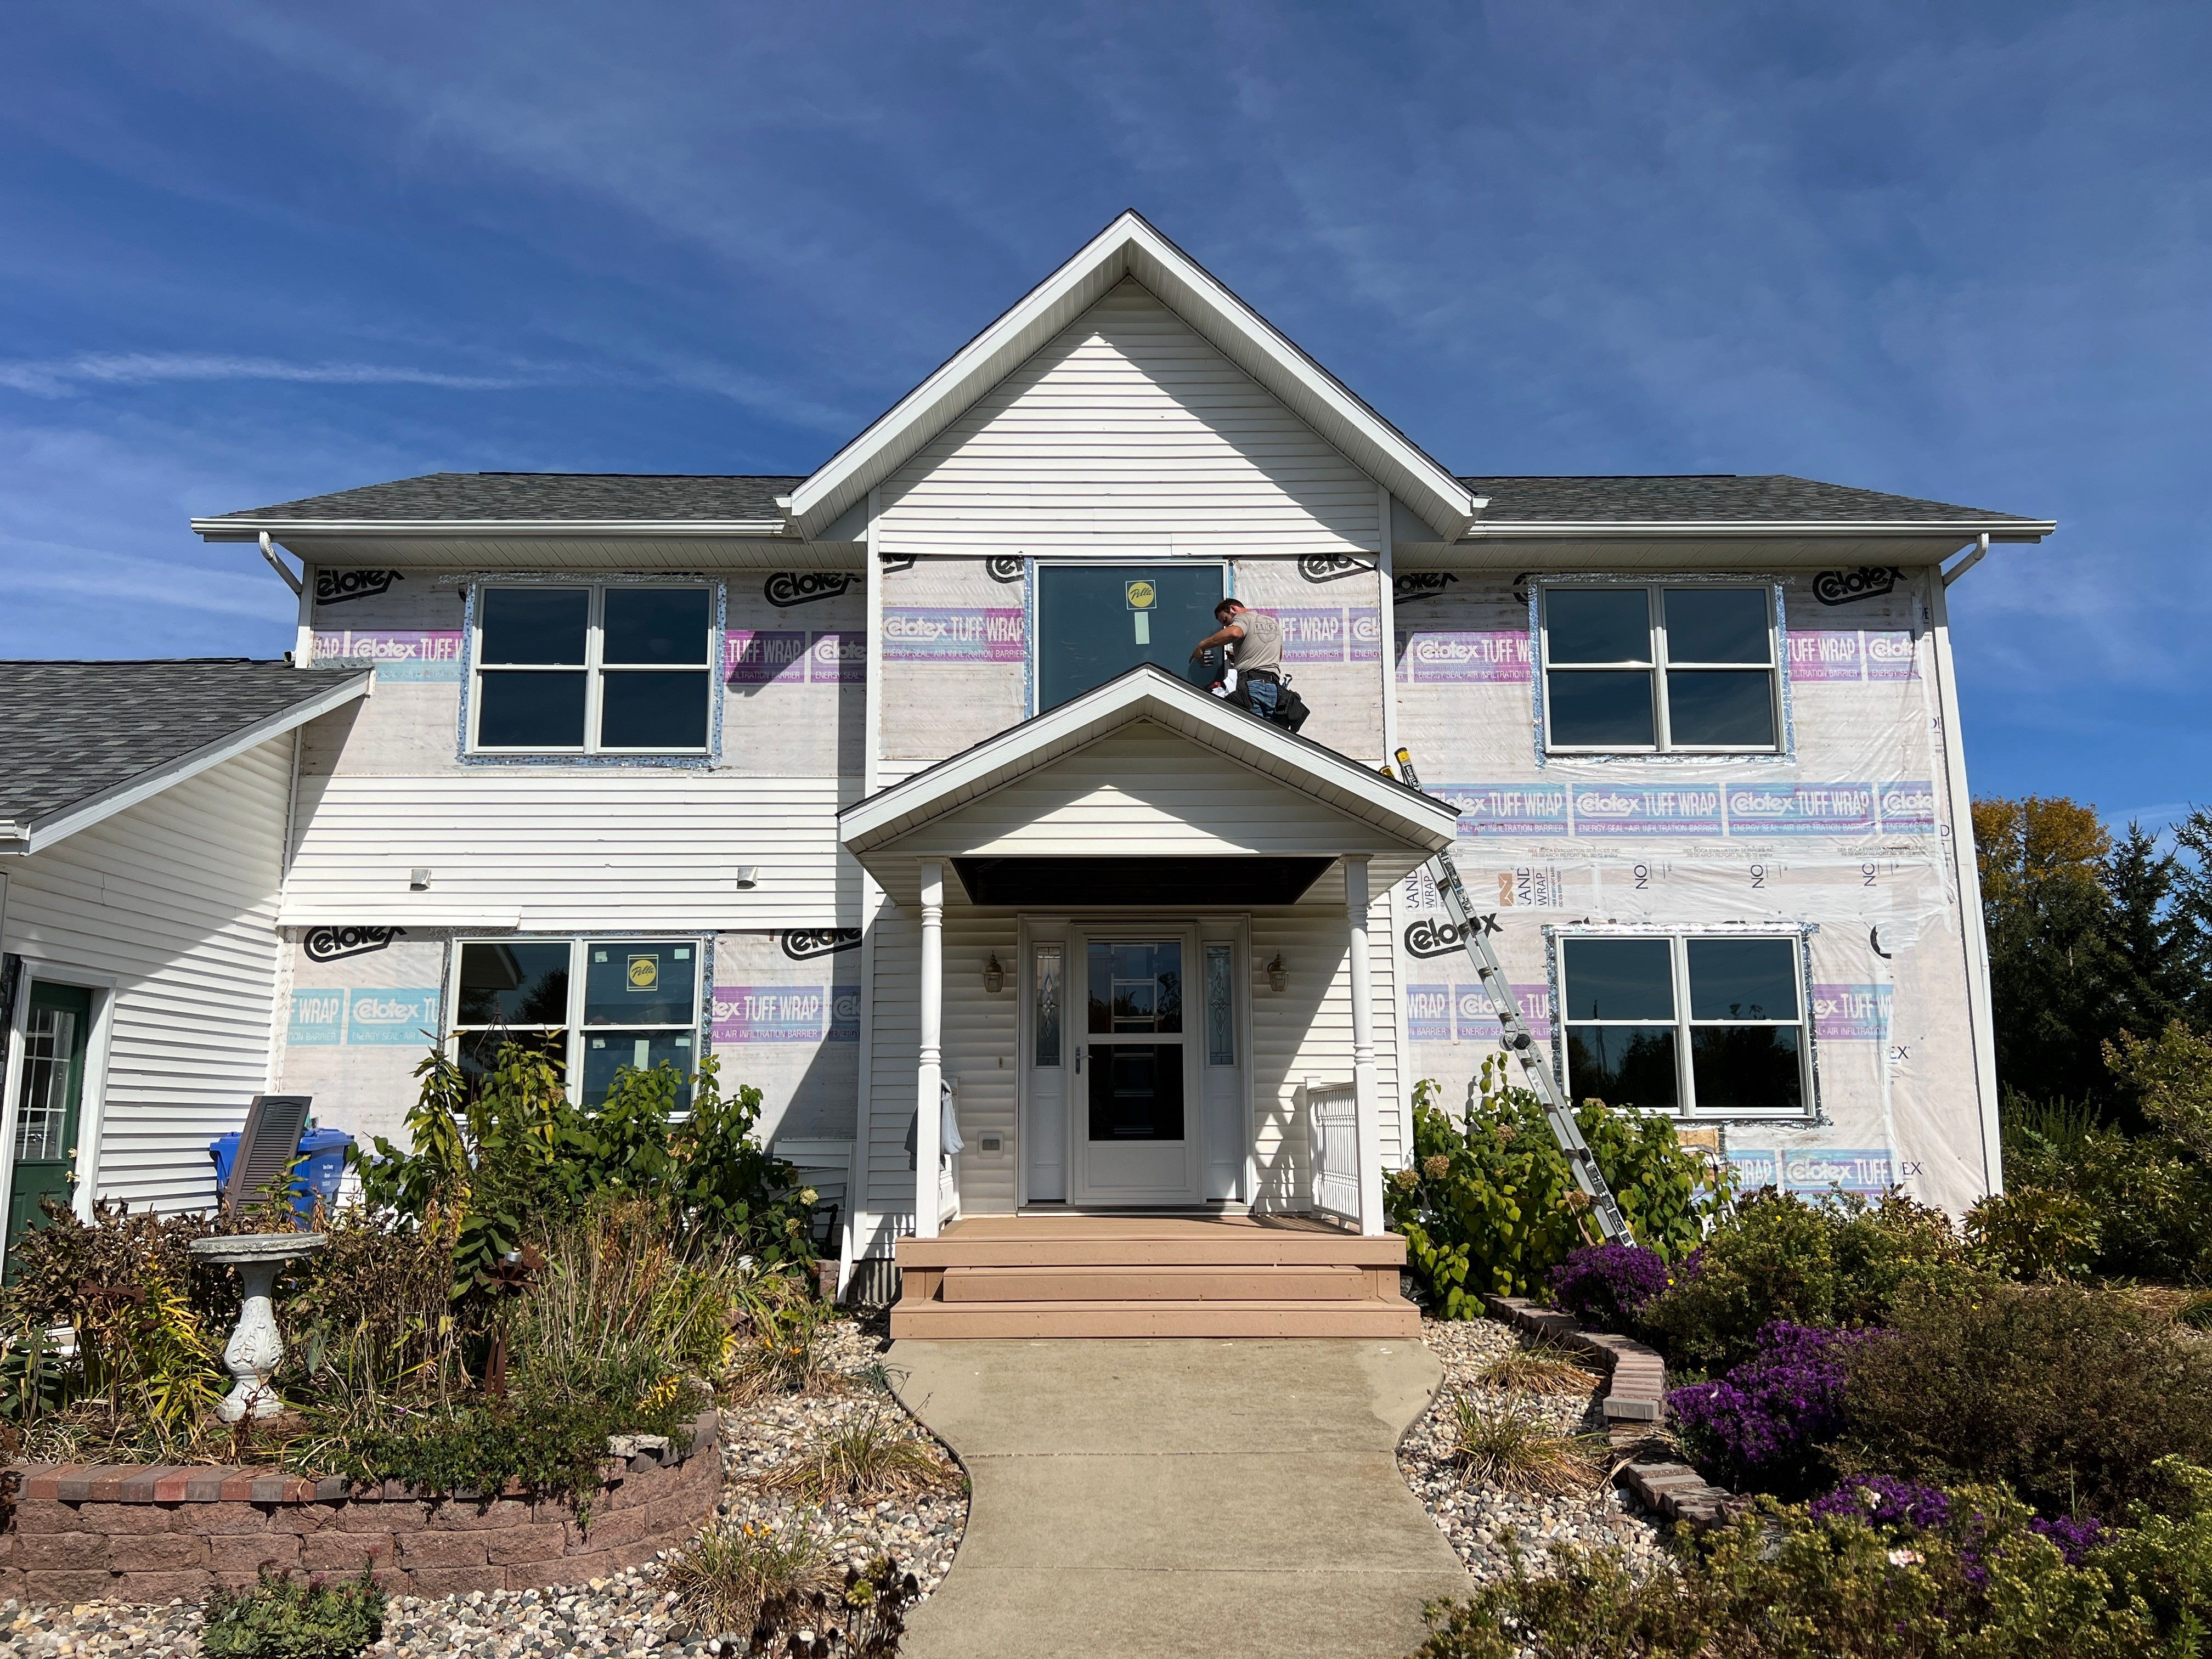
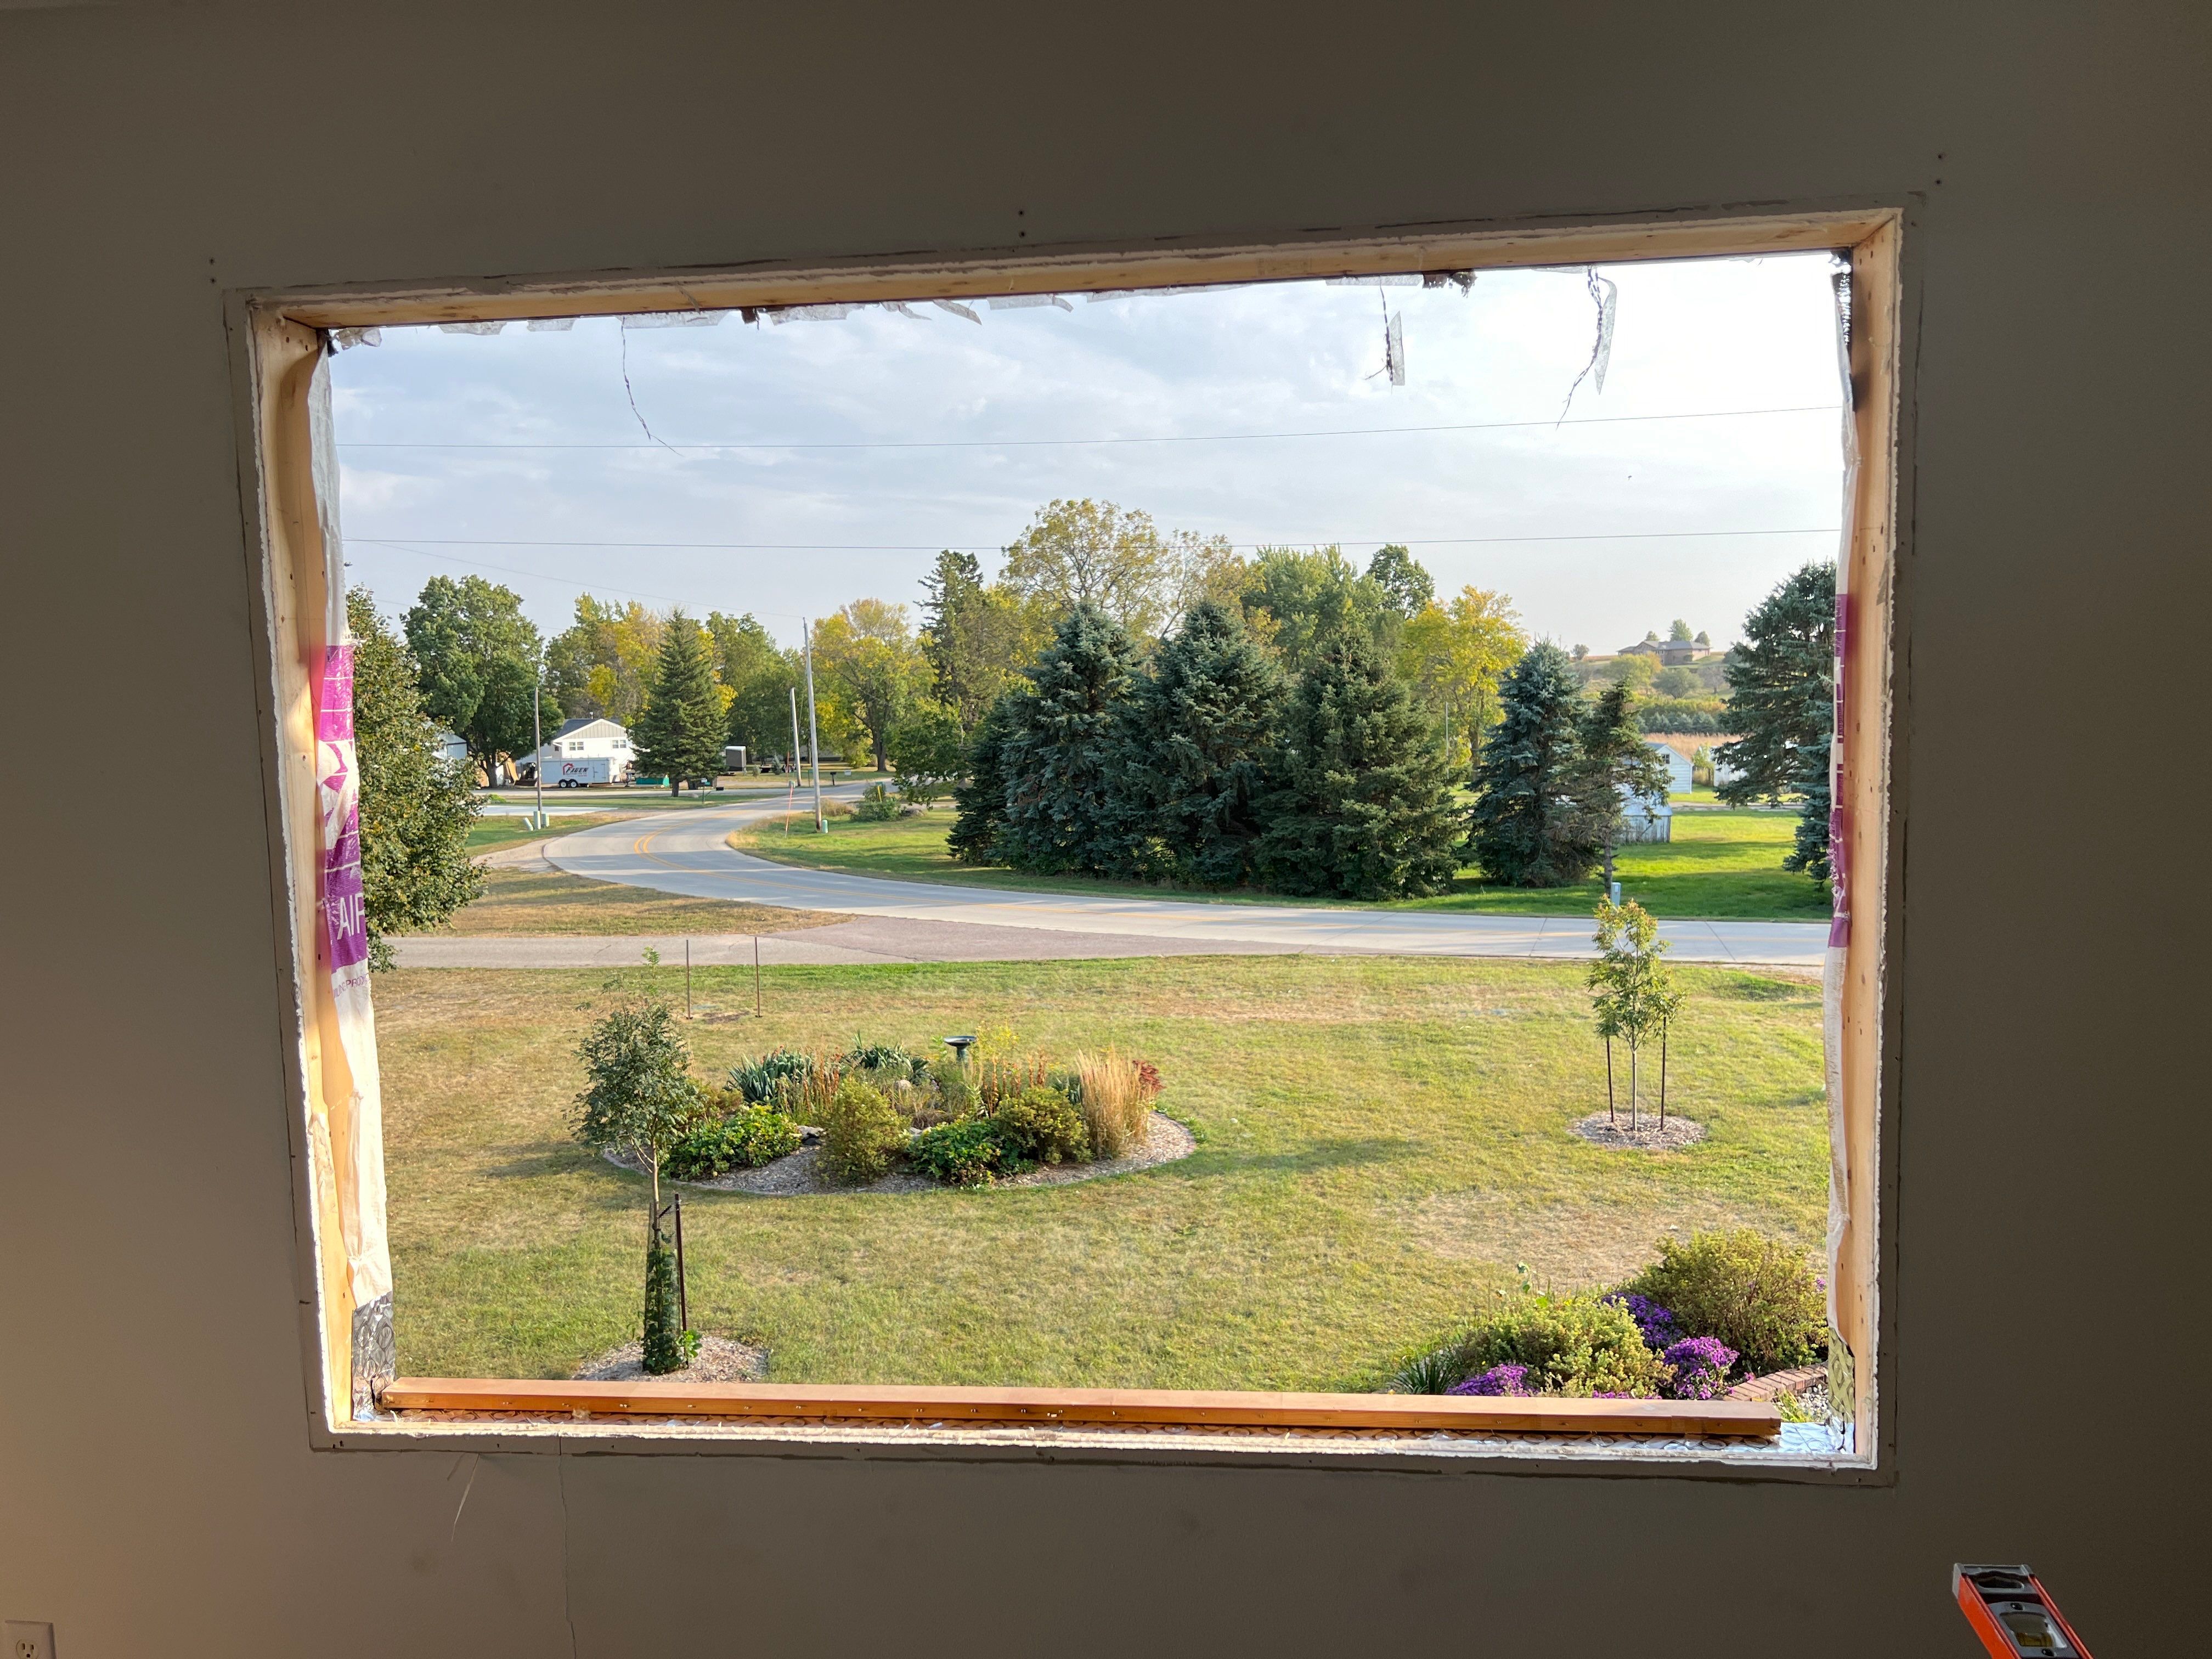
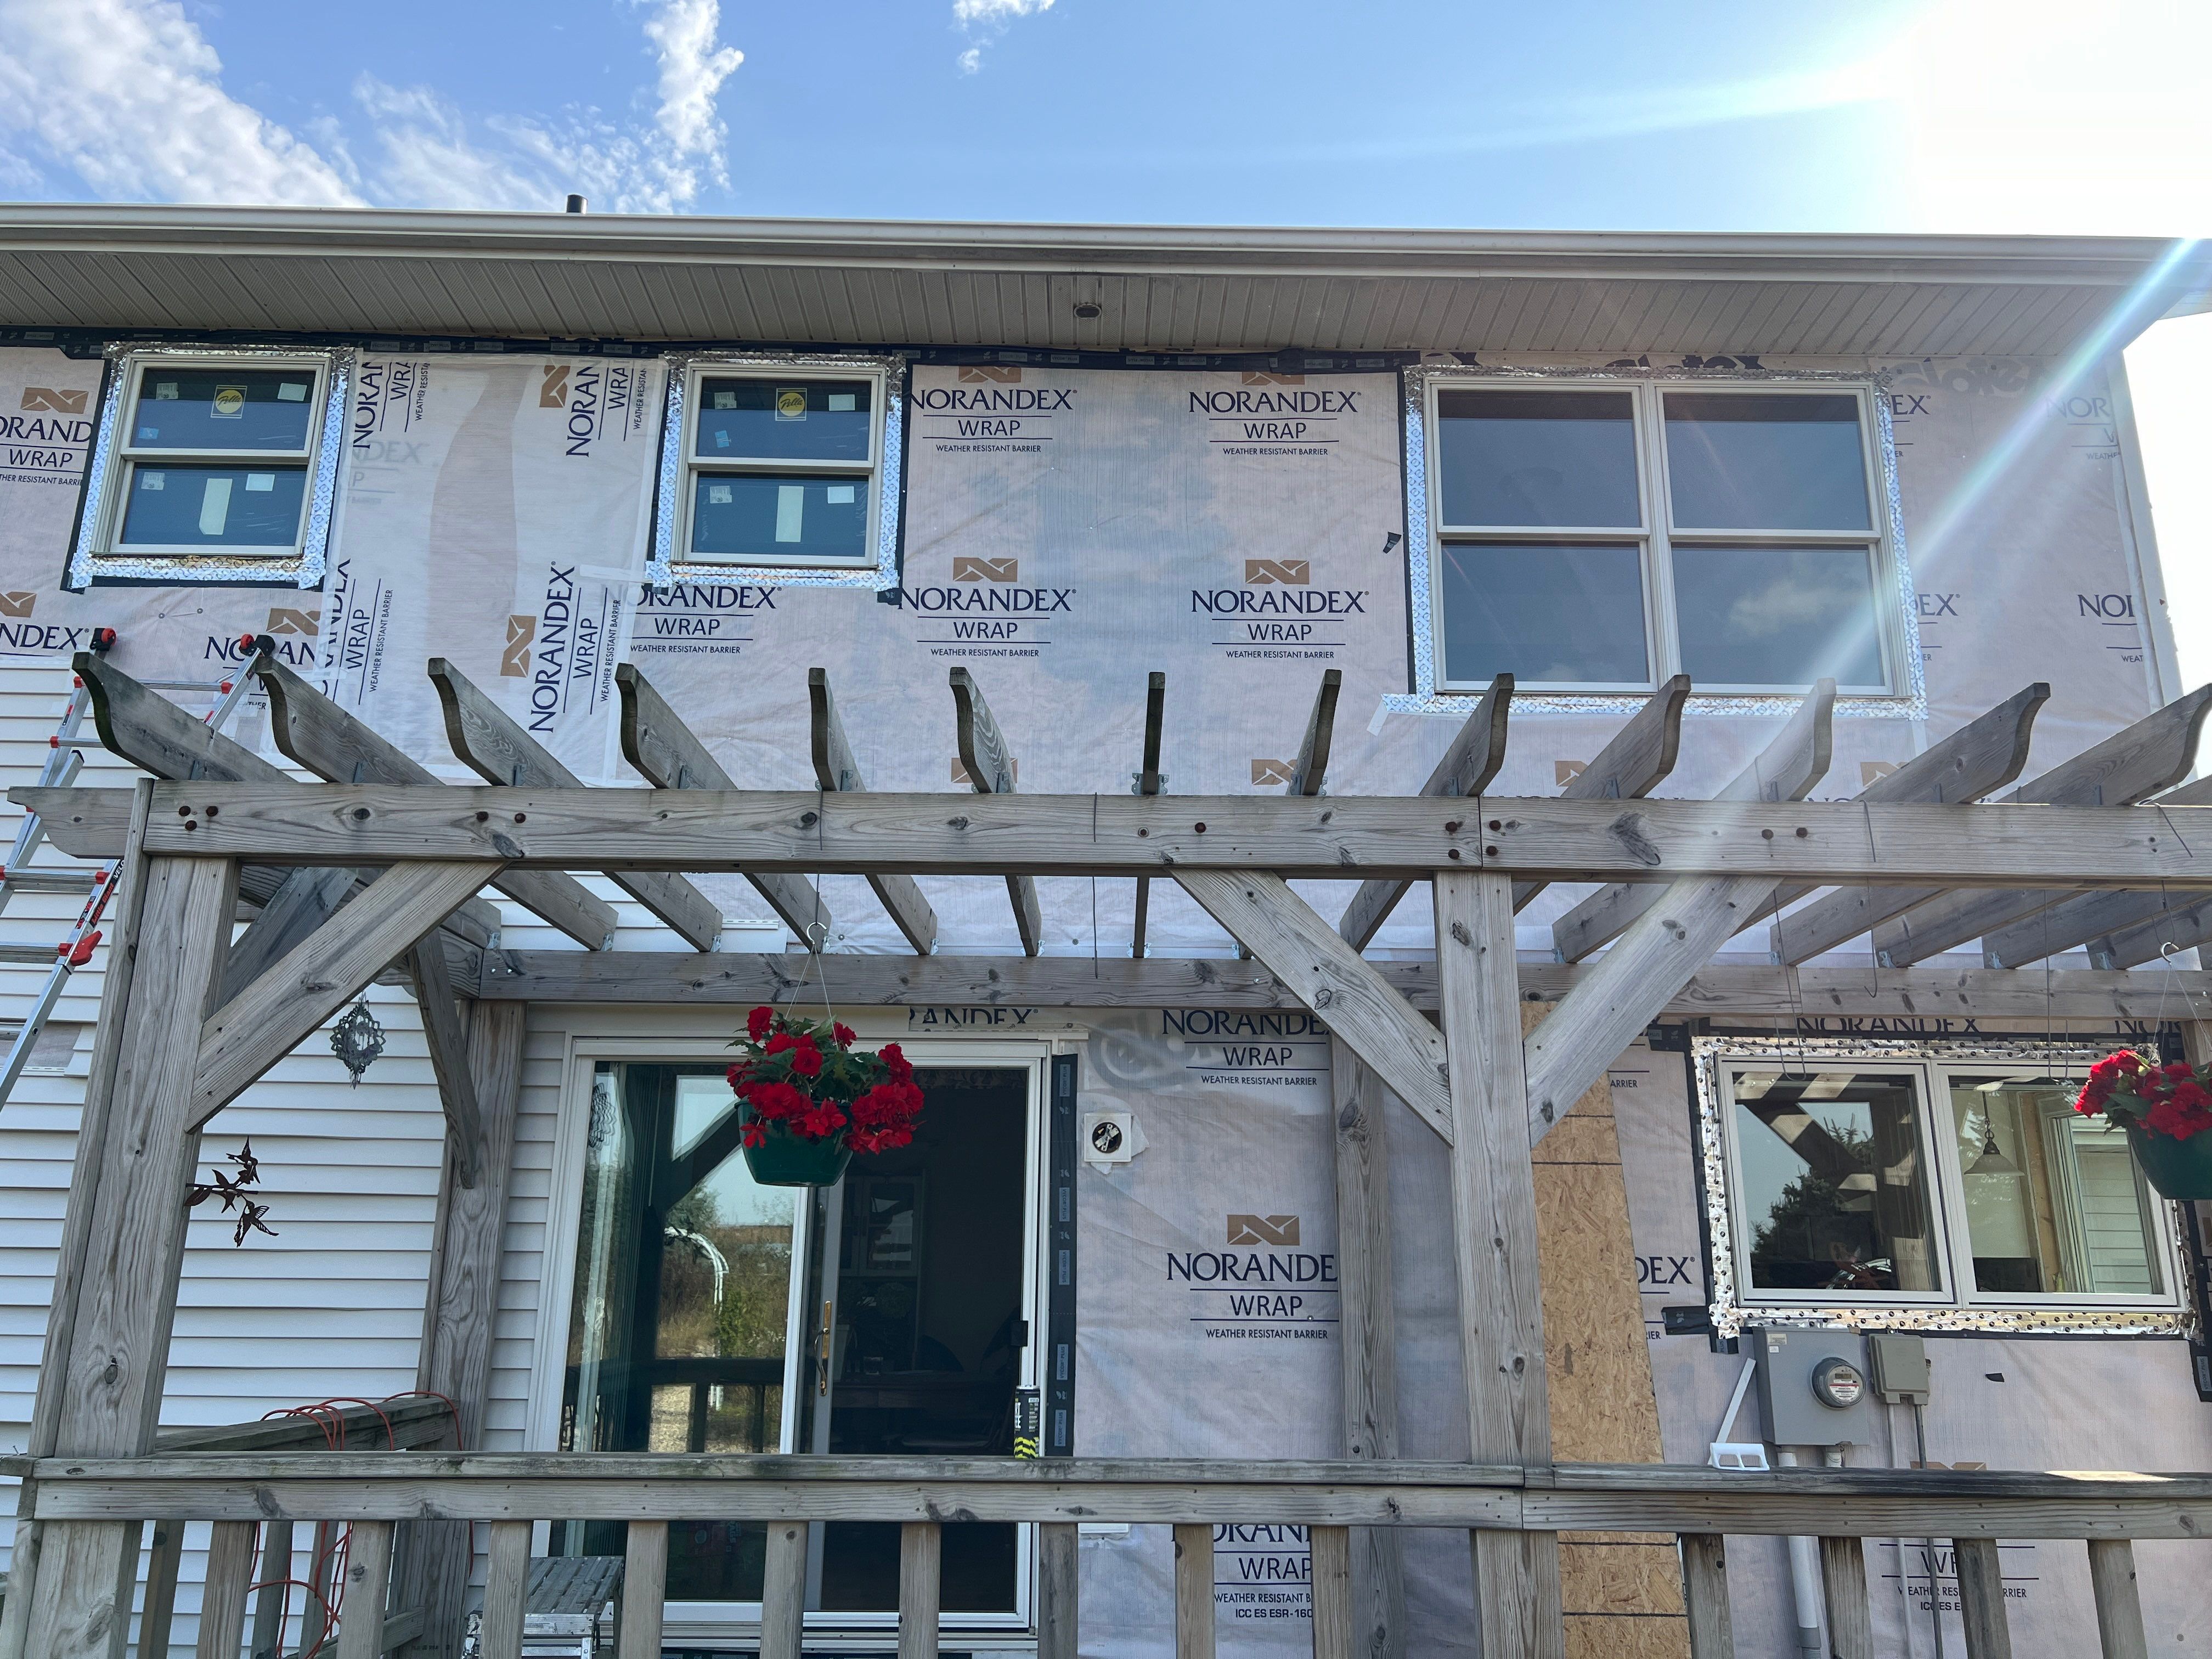
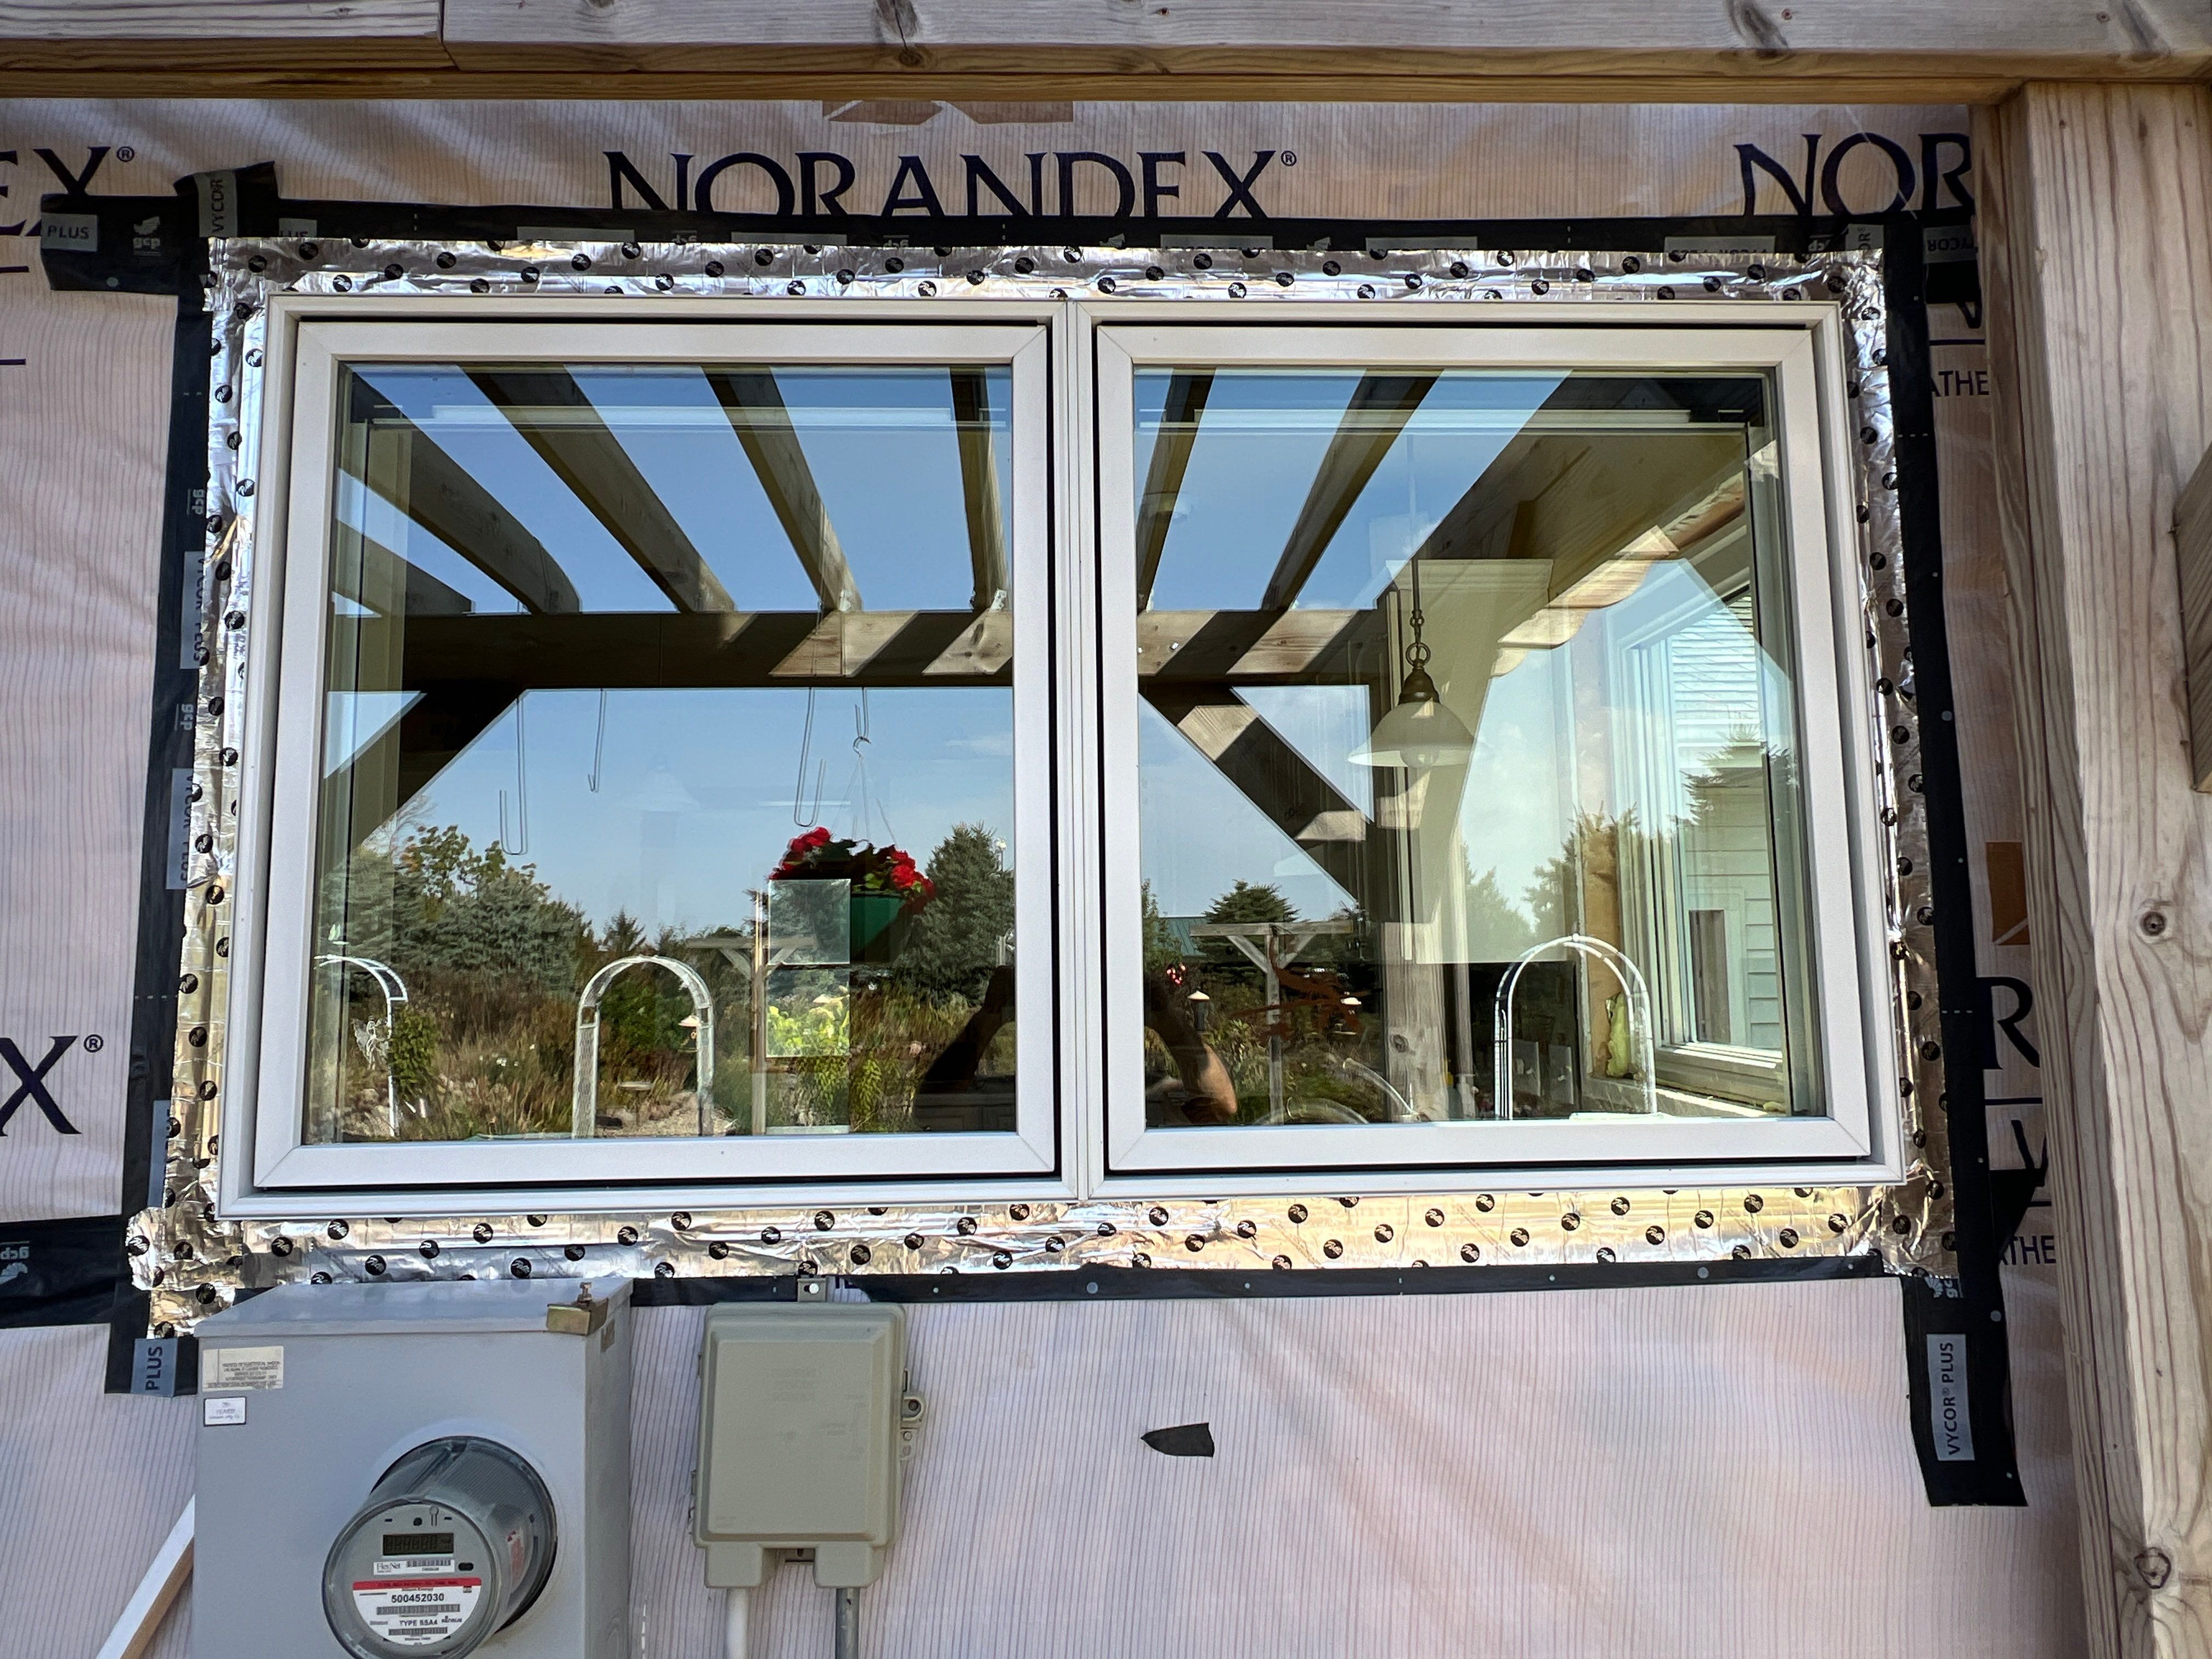
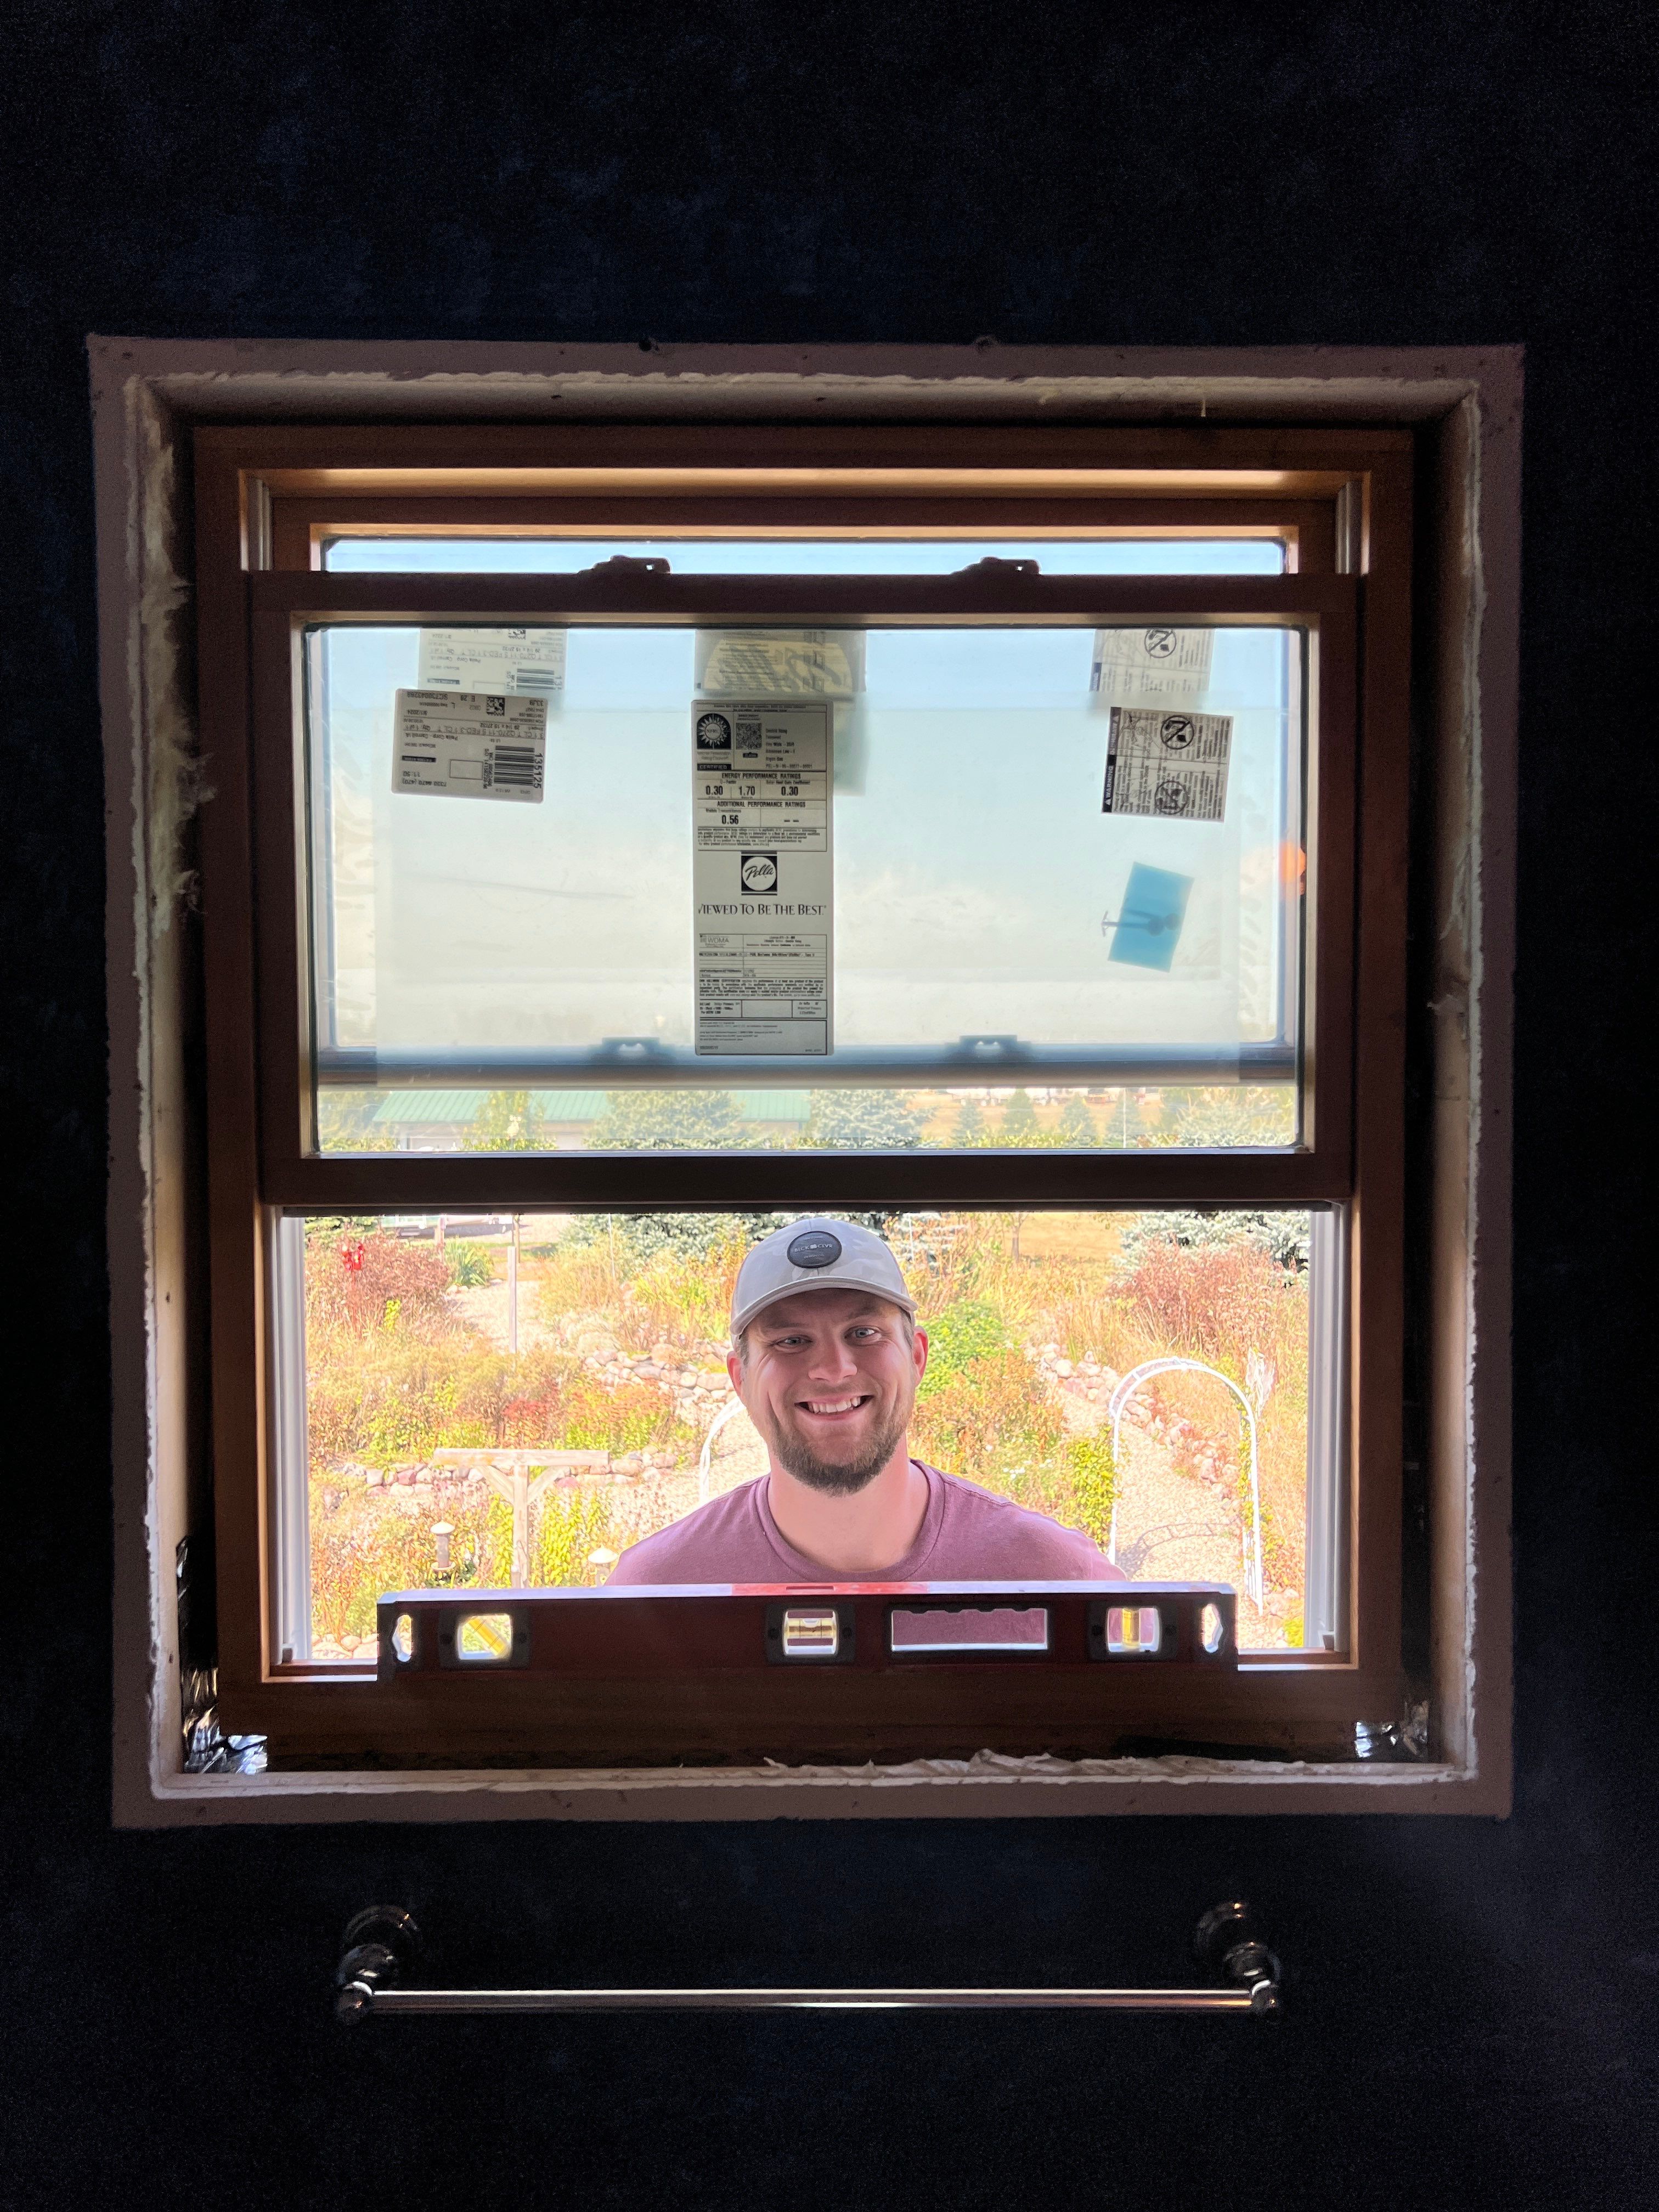
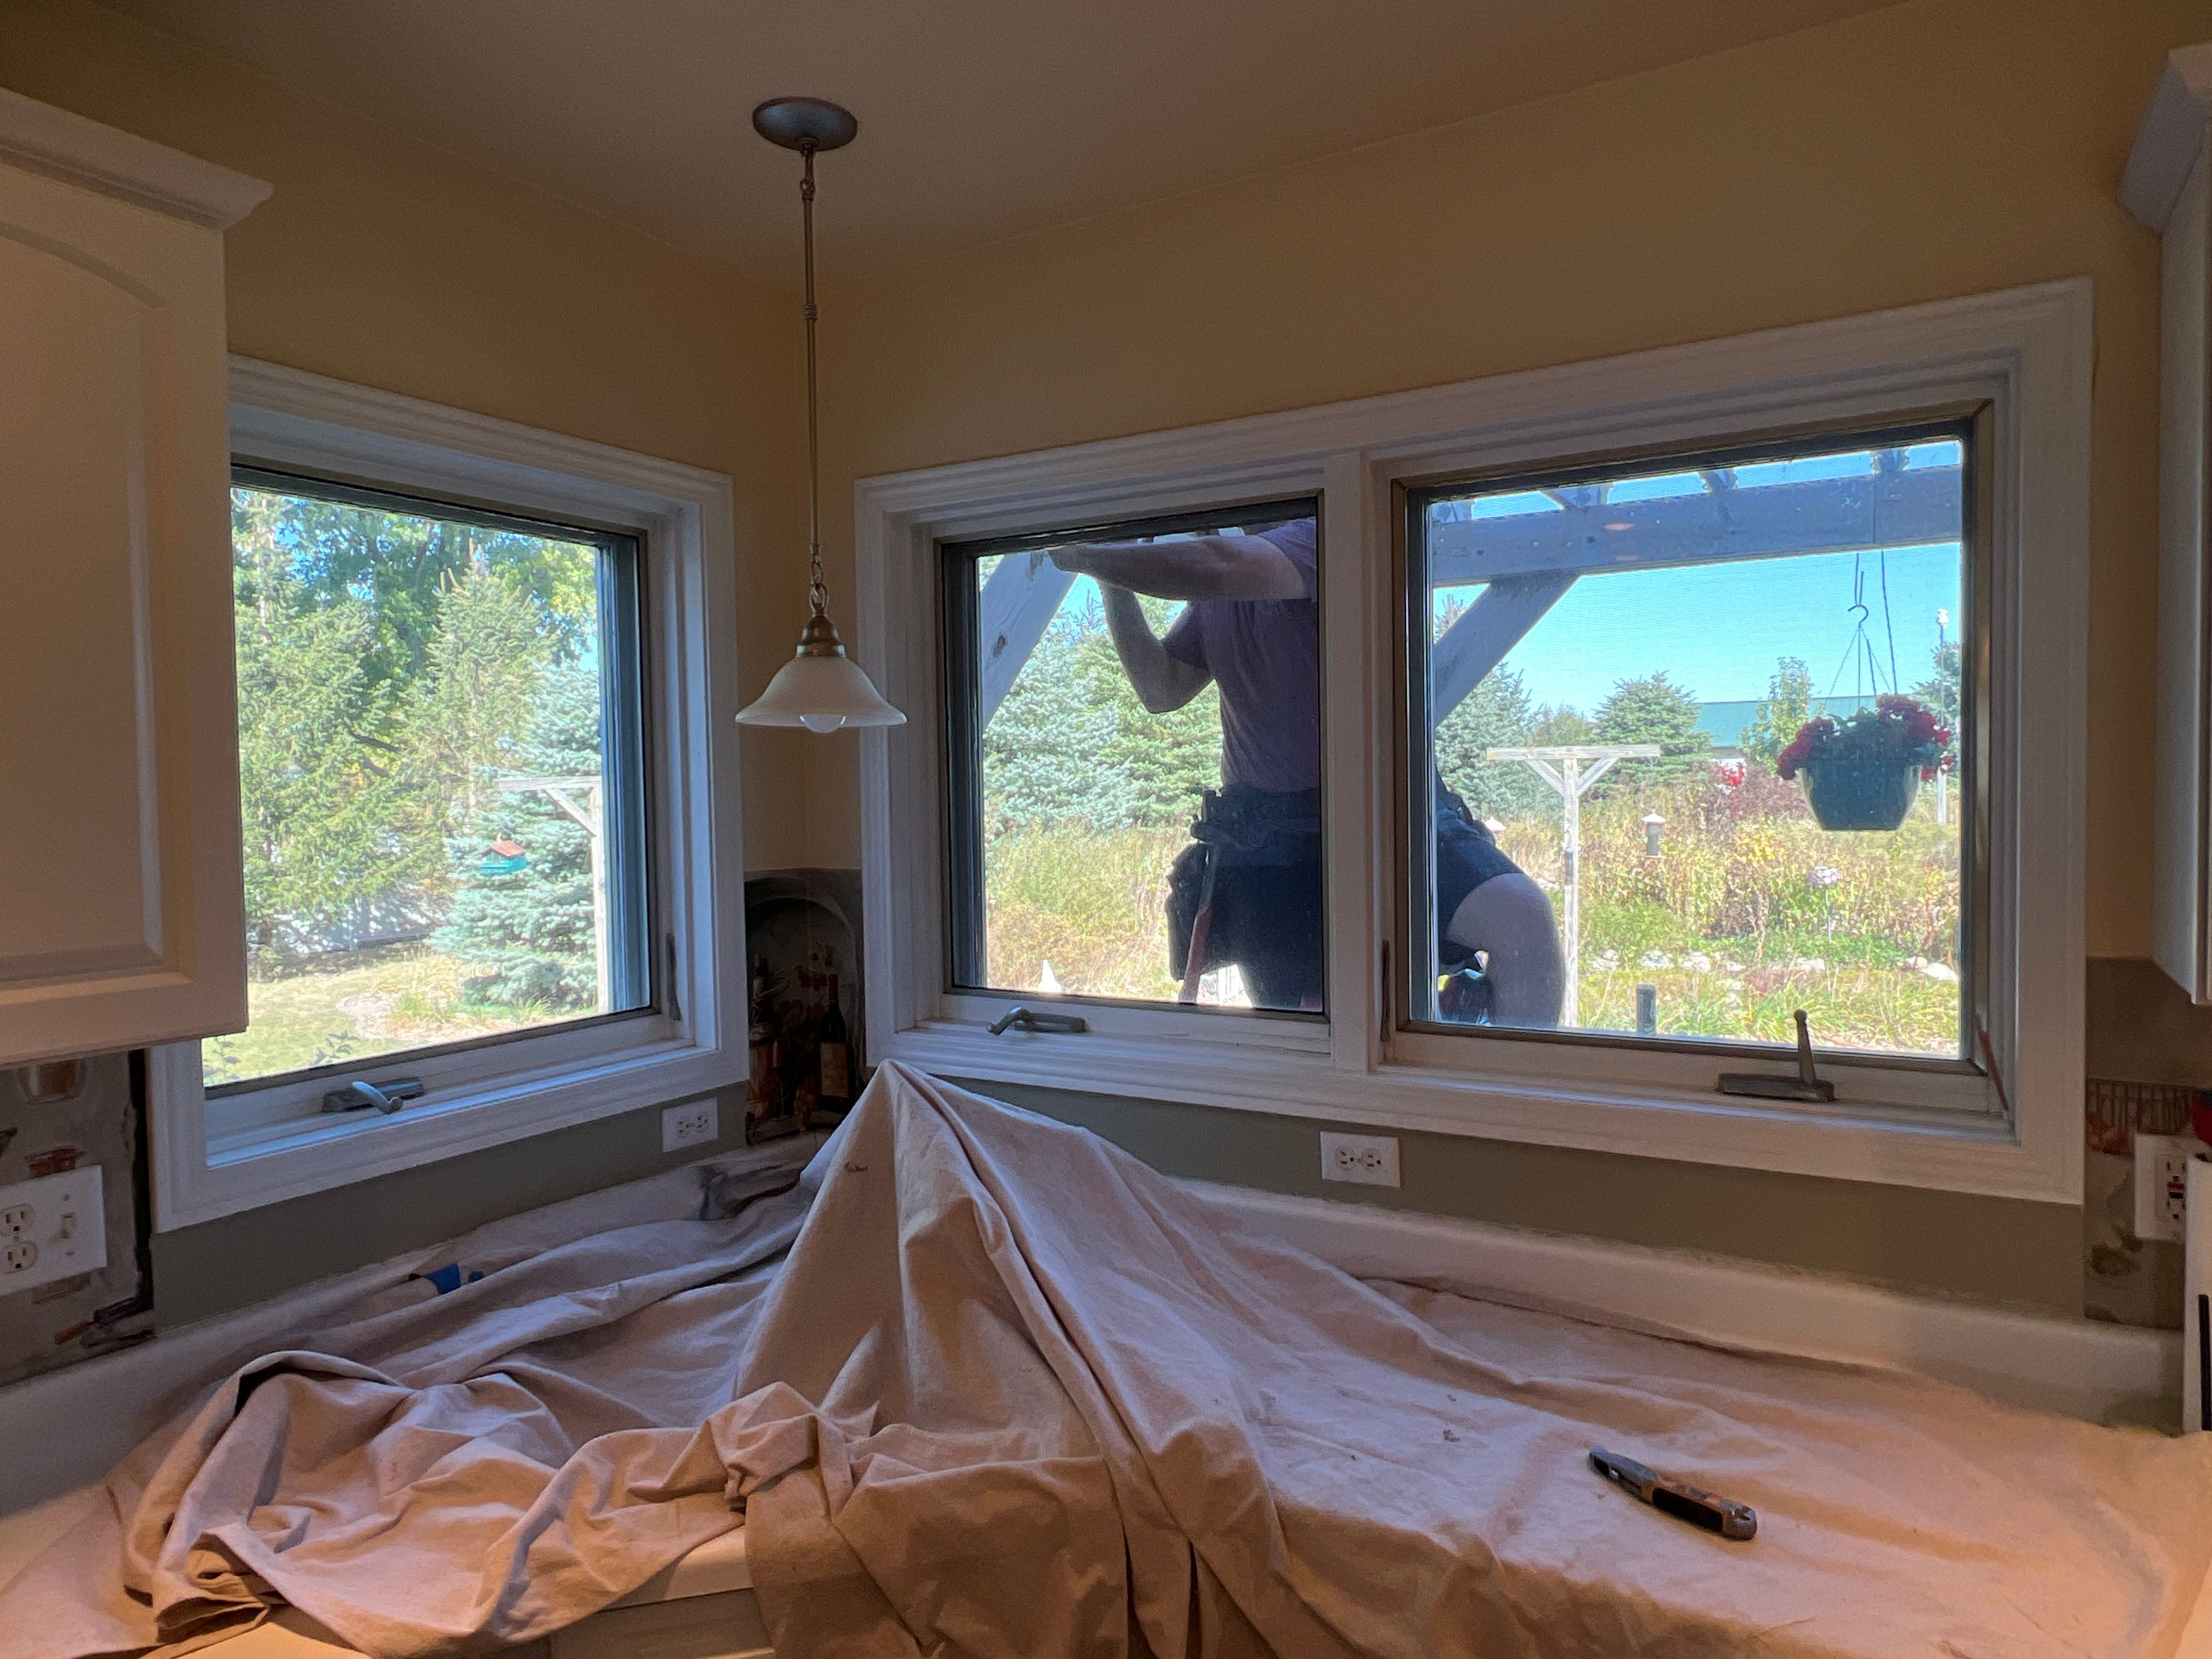
The **replacement Pella Lifestyle window with rollo-screen** installation involved removing an old wood window and ensuring the new window would offer better energy efficiency and weather protection. Here's a step-by-step breakdown of the process: 1. **Removal of the Old Wood Window**: We began by carefully extracting the old window, ensuring the opening was ready for the new installation. Any debris or old materials were cleaned out to create a smooth, clean surface for the new Pella window. 2. **Taping the Window Sill and Outside Nailing Flanges**: To ensure the new window is both airtight and watertight, we applied high-quality weatherproof tape along the window sill and nailing flanges. This crucial step seals the window to prevent air and water infiltration, protecting against leaks, drafts, and moisture damage. 3. **Installation of the Pella Lifestyle Window**: With the window sill properly taped and sealed, we installed the Pella Lifestyle window securely into the prepared opening. The nailing flanges were fastened in place, ensuring a snug fit. 4. **Custom Interior Jamb and Casing**: Once the window was set, we installed a custom interior jamb and casing to match the design and dimensions of the surrounding interior space. This provided a seamless, polished appearance while also enhancing the window’s insulation and stability. 5. **Final Inspection and Sealing**: After installation, we inspected all seals, joints, and fastenings to ensure everything was properly sealed and aligned, delivering a durable, energy-efficient, and aesthetically pleasing result. This installation will not only enhance the overall aesthetic but also improve the energy efficiency and durability of the space, making it a valuable long-term upgrade.
Pella Lifestyle wood/Aluminum window, Pella Window installation


Replacement windows

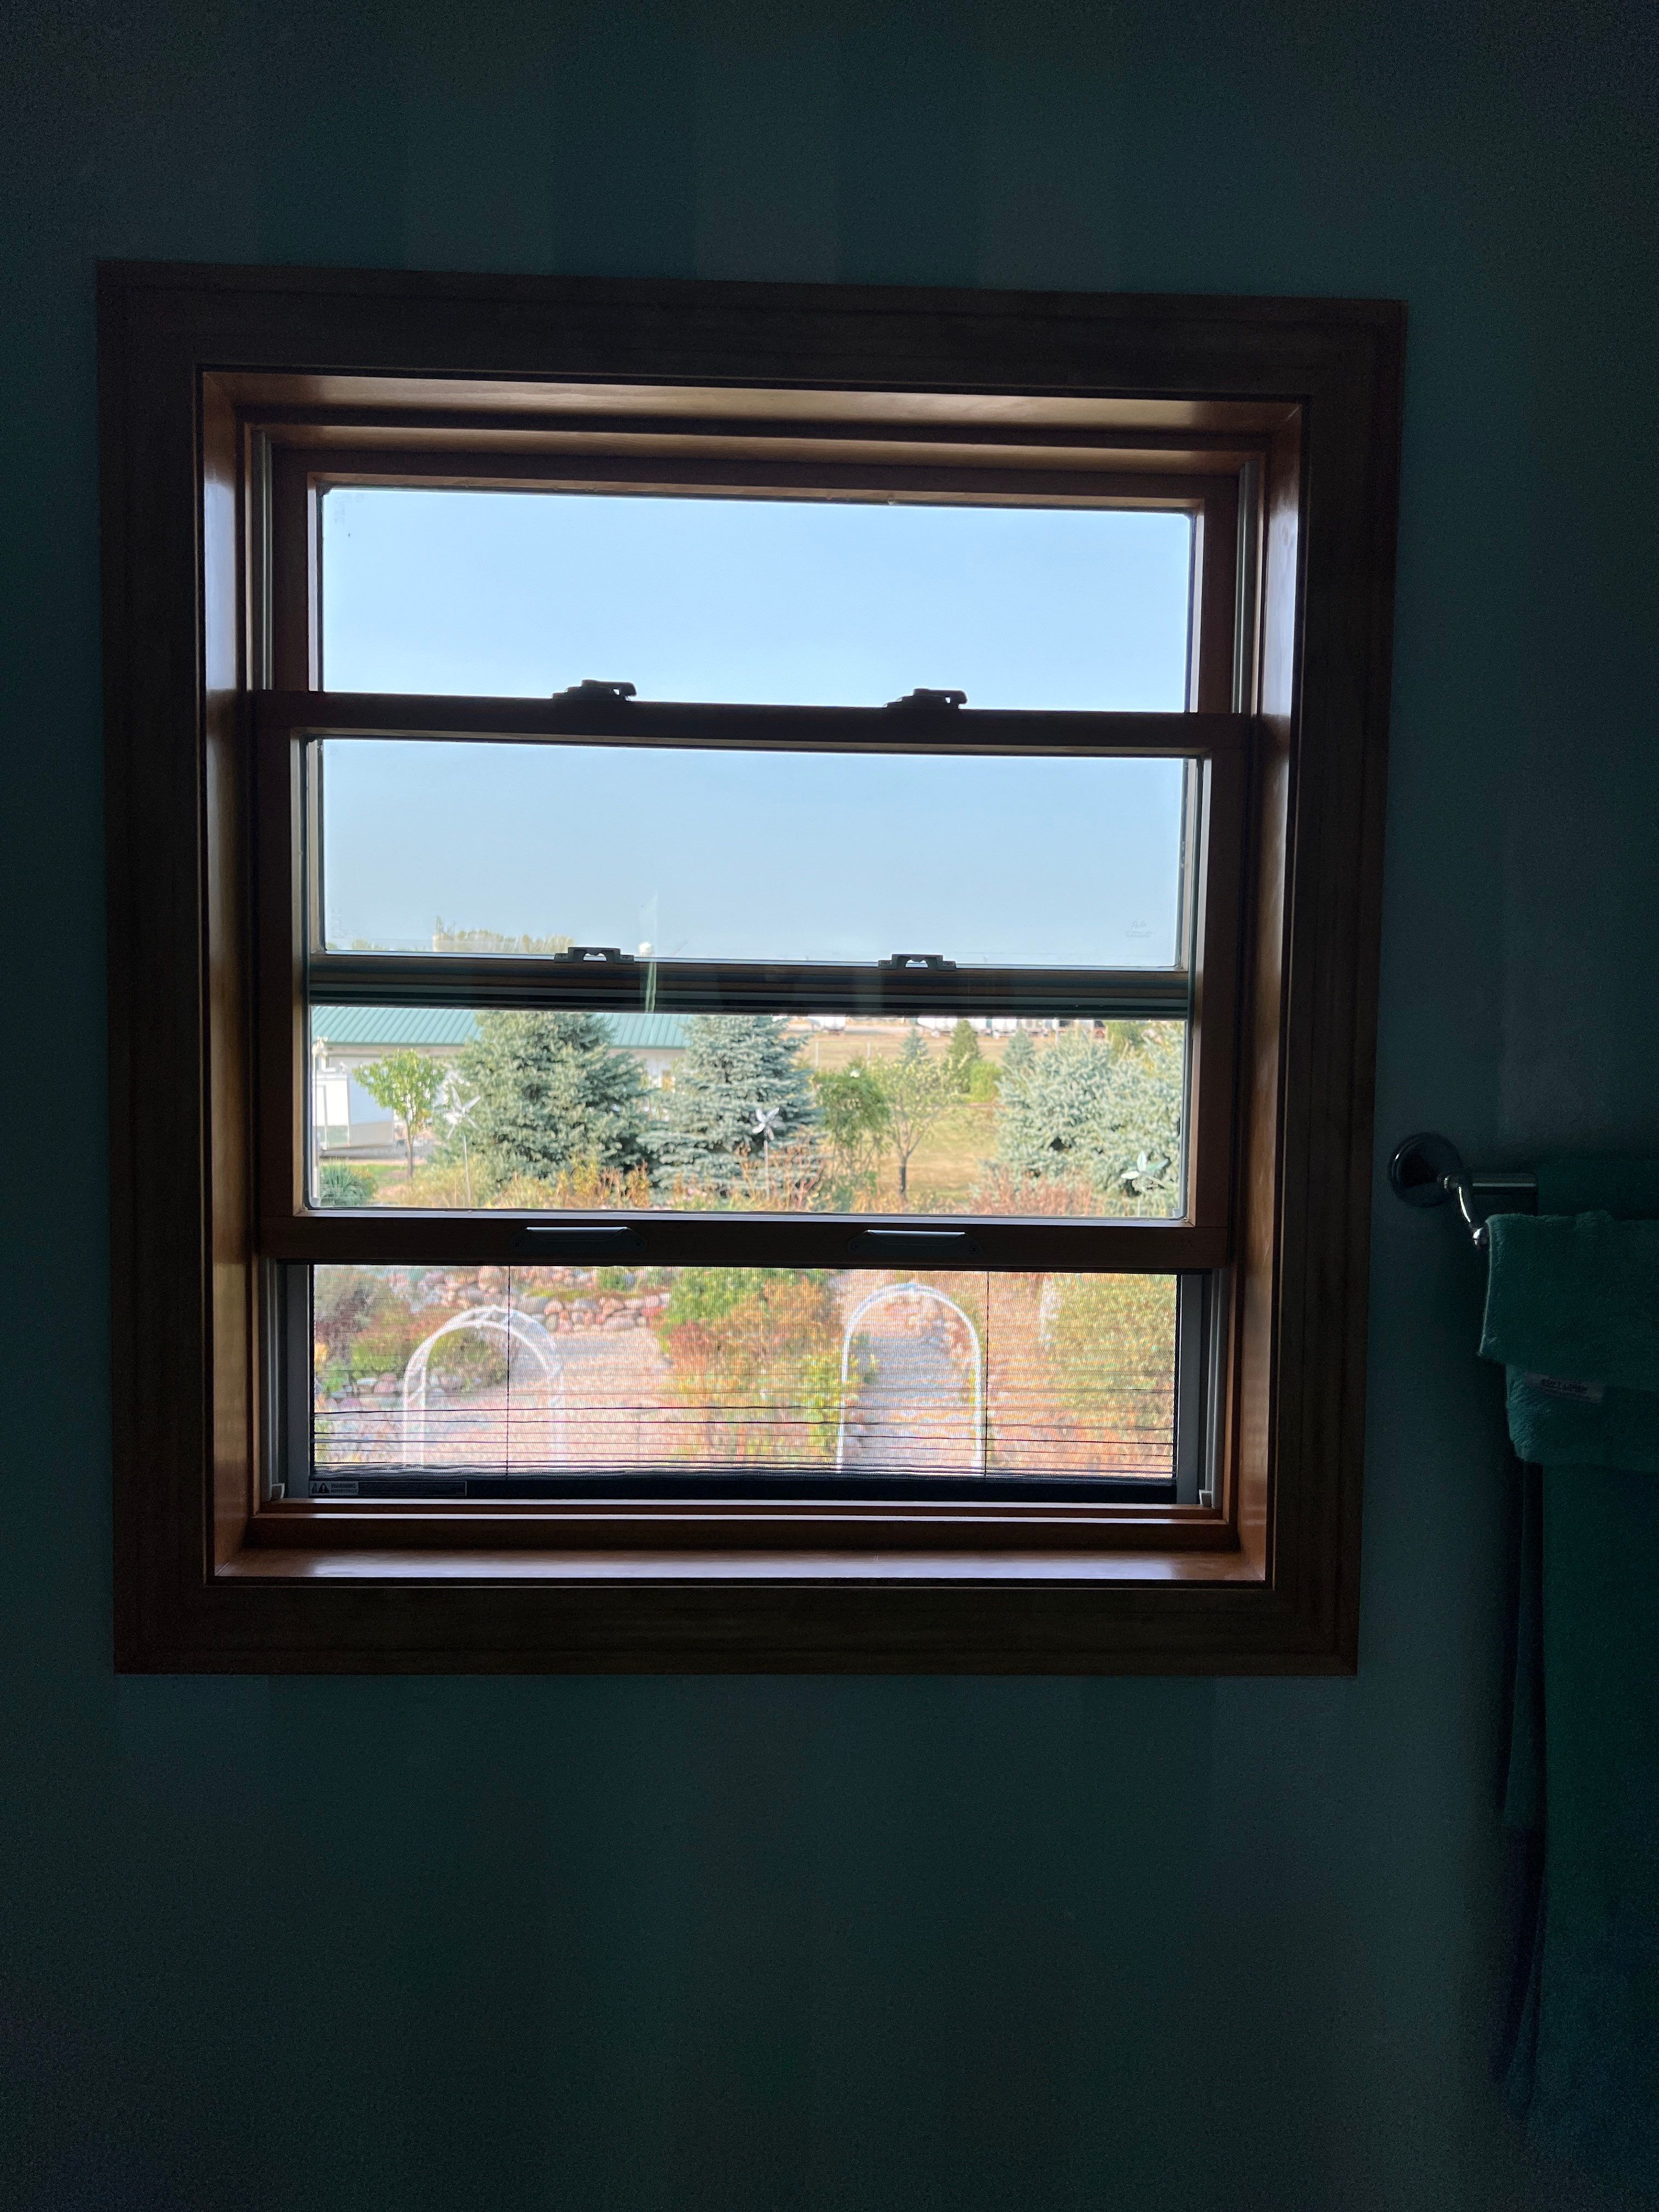
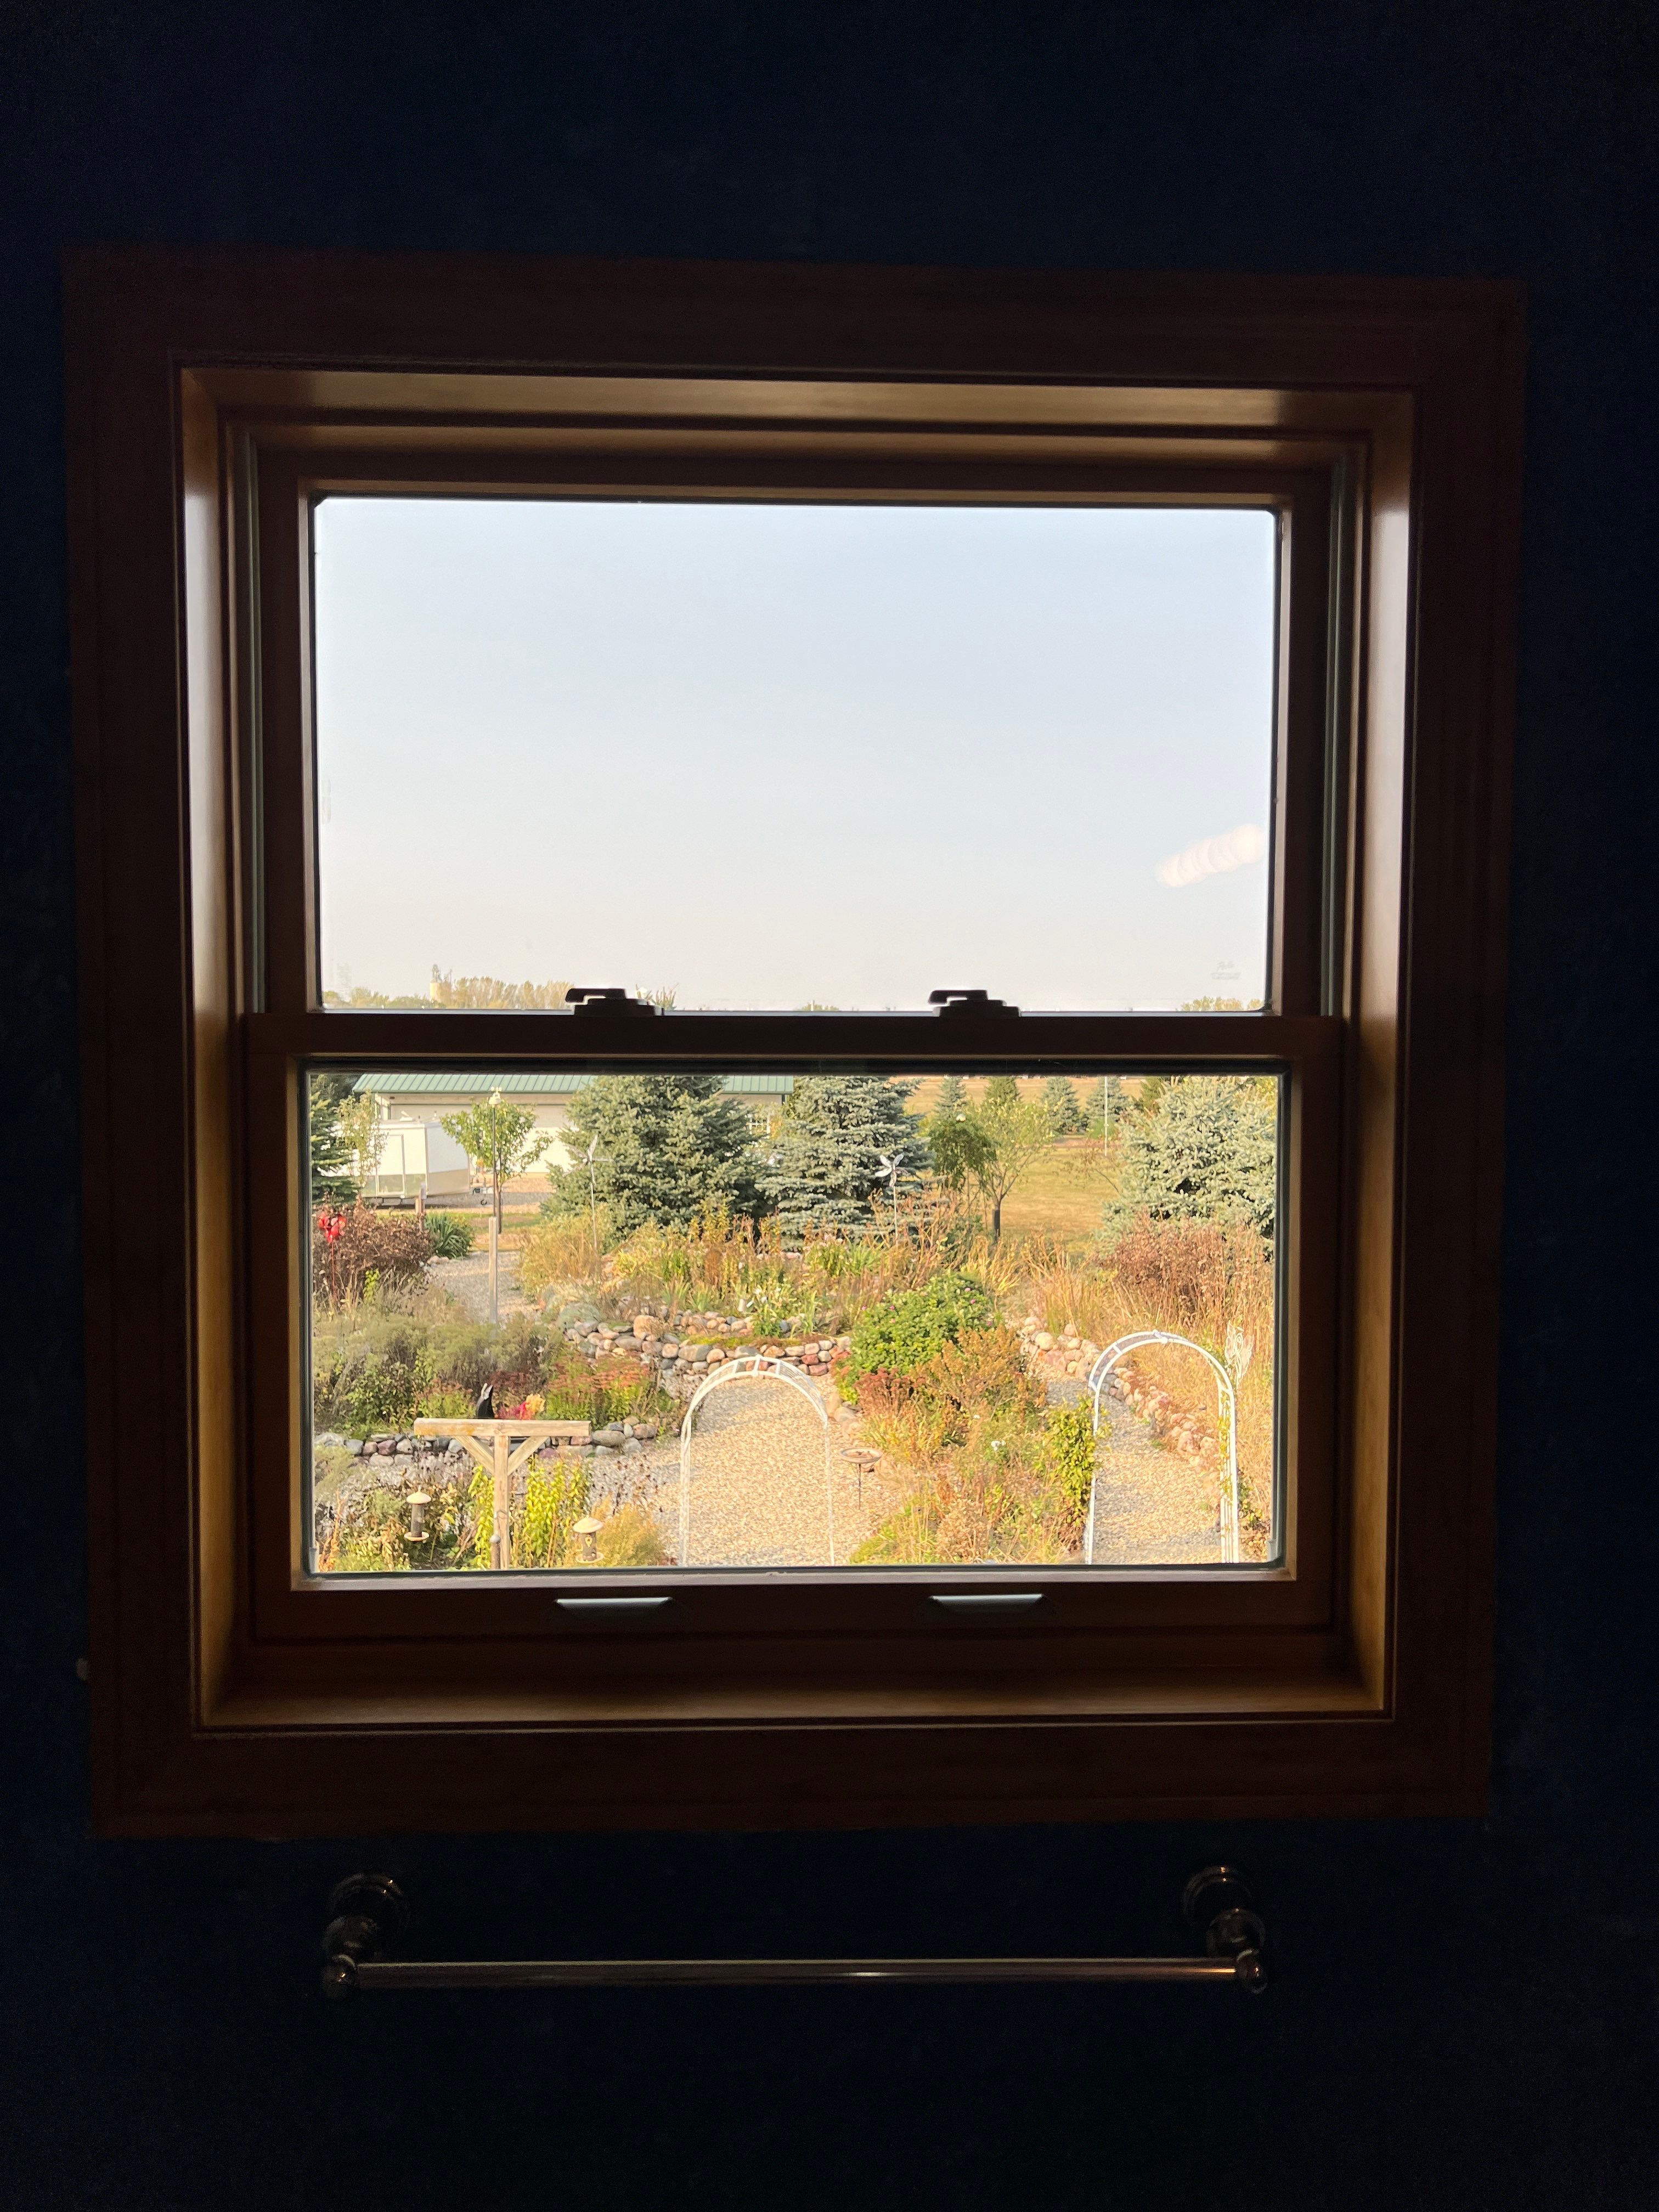
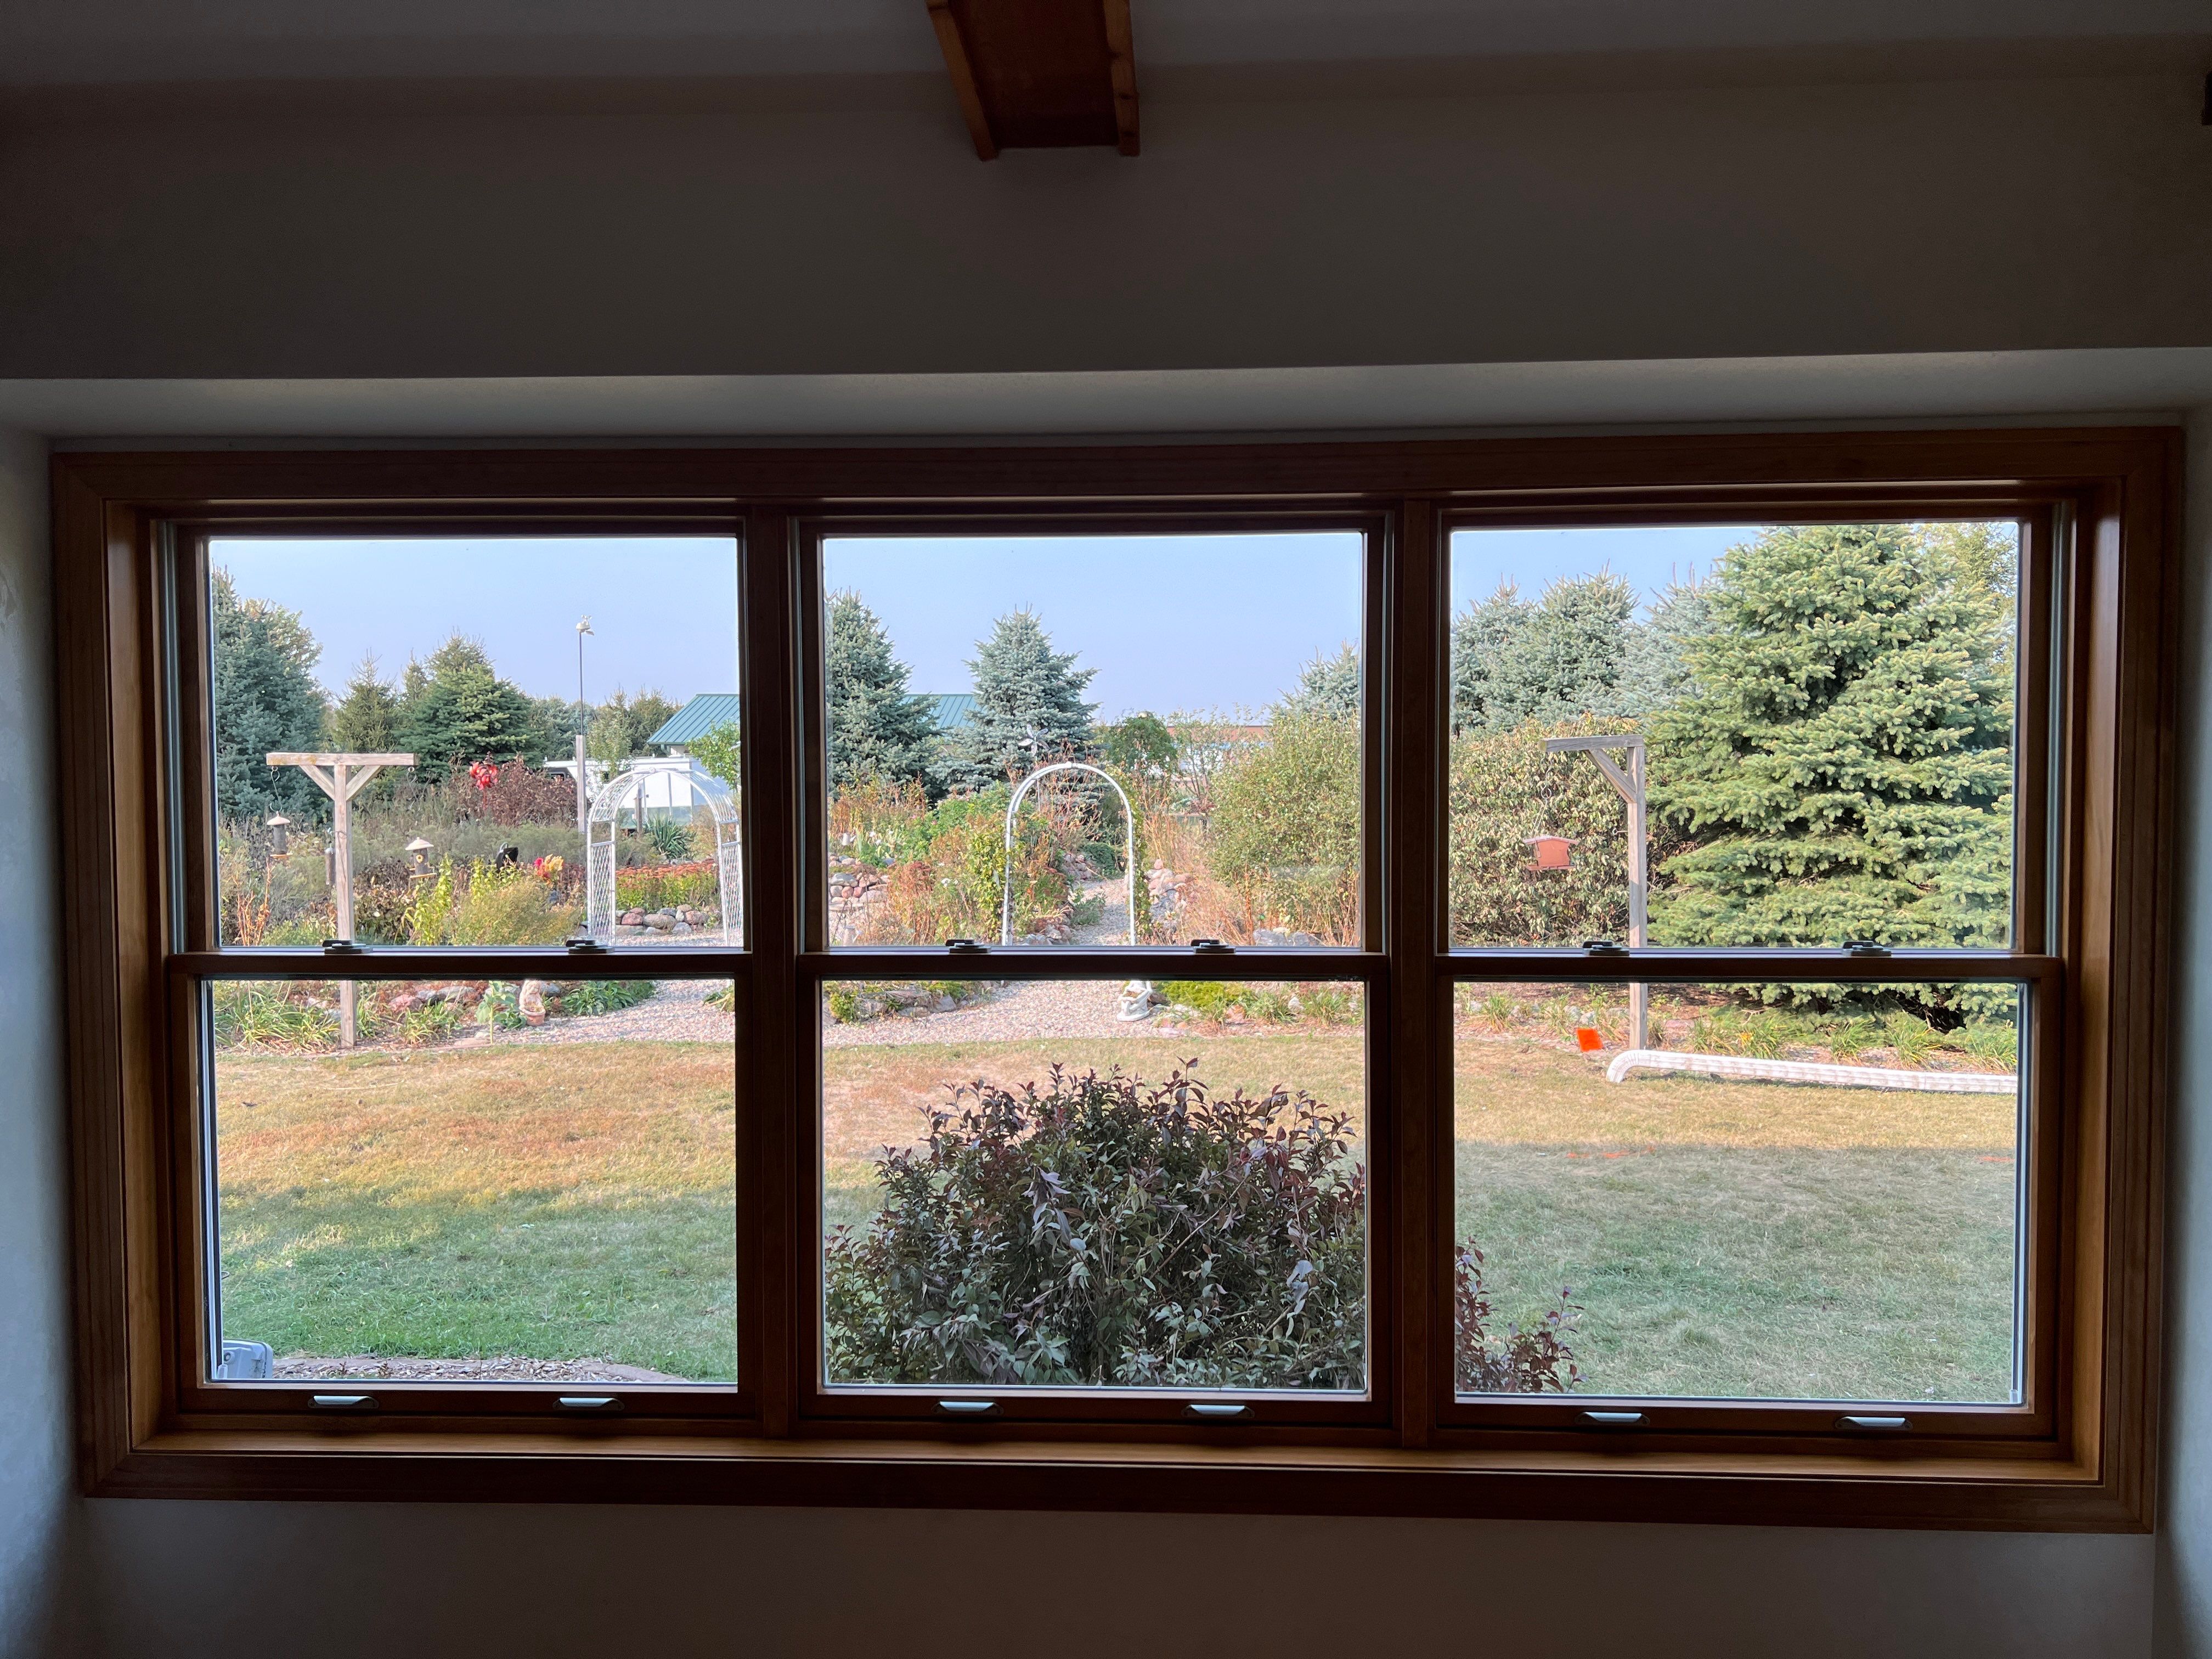
The **replacement Pella Lifestyle window with rollo-screen** installation involved removing an old wood window and ensuring the new window would offer better energy efficiency and weather protection. Here's a step-by-step breakdown of the process: 1. **Removal of the Old Wood Window**: We began by carefully extracting the old window, ensuring the opening was ready for the new installation. Any debris or old materials were cleaned out to create a smooth, clean surface for the new Pella window. 2. **Taping the Window Sill and Outside Nailing Flanges**: To ensure the new window is both airtight and watertight, we applied high-quality weatherproof tape along the window sill and nailing flanges. This crucial step seals the window to prevent air and water infiltration, protecting against leaks, drafts, and moisture damage. 3. **Installation of the Pella Lifestyle Window**: With the window sill properly taped and sealed, we installed the Pella Lifestyle window securely into the prepared opening. The nailing flanges were fastened in place, ensuring a snug fit. 4. **Custom Interior Jamb and Casing**: Once the window was set, we installed a custom interior jamb and casing to match the design and dimensions of the surrounding interior space. This provided a seamless, polished appearance while also enhancing the window’s insulation and stability. 5. **Final Inspection and Sealing**: After installation, we inspected all seals, joints, and fastenings to ensure everything was properly sealed and aligned, delivering a durable, energy-efficient, and aesthetically pleasing result. This installation will not only enhance the overall aesthetic but also improve the energy efficiency and durability of the space, making it a valuable long-term upgrade.