Project in Dublin, CA
May 2026
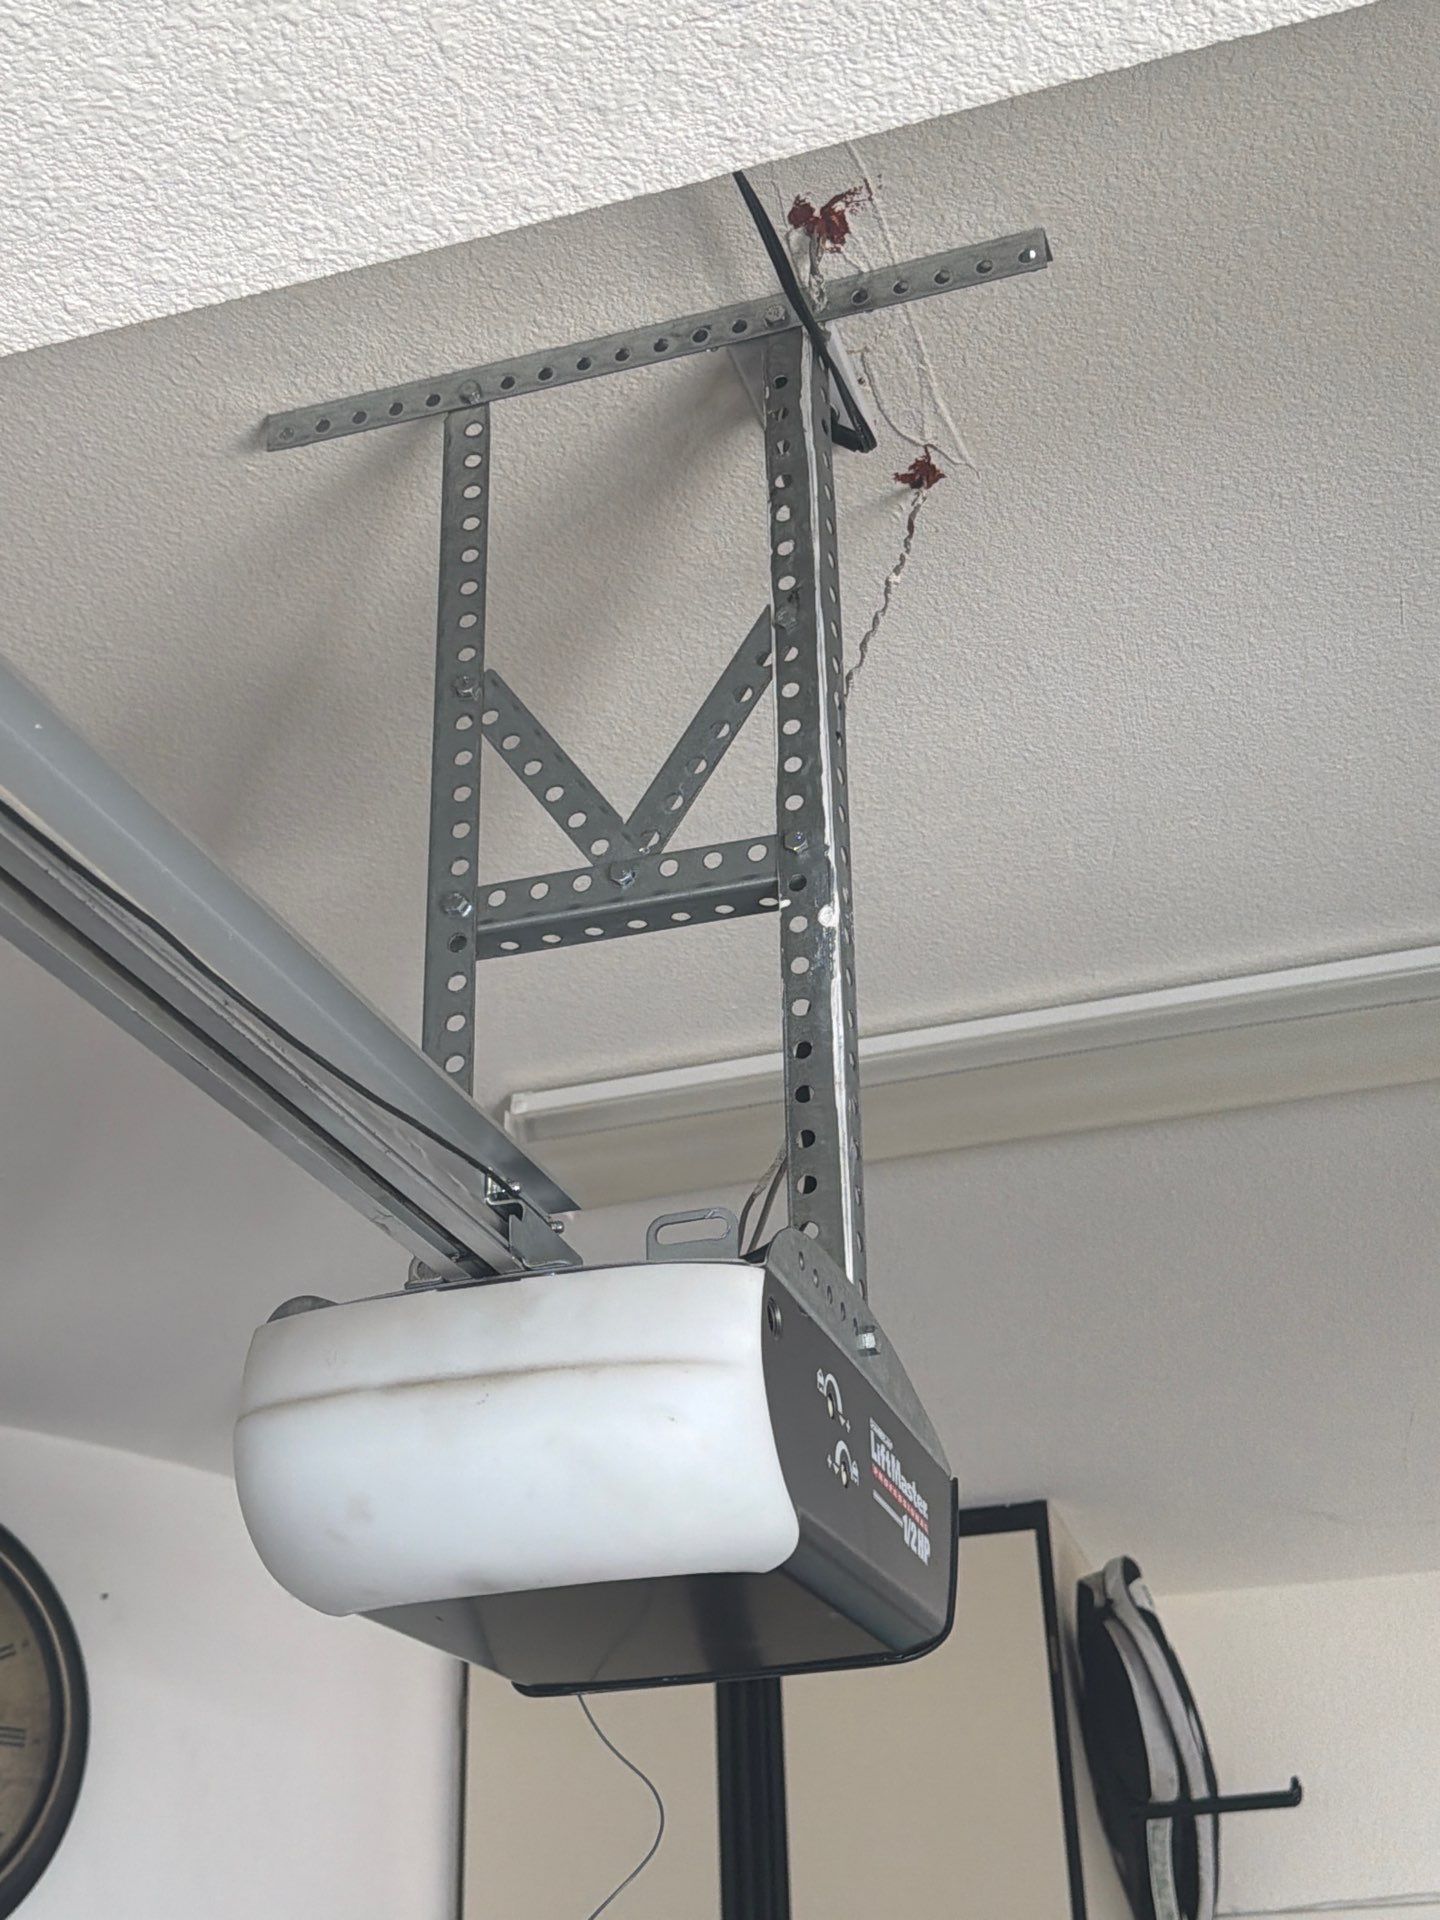
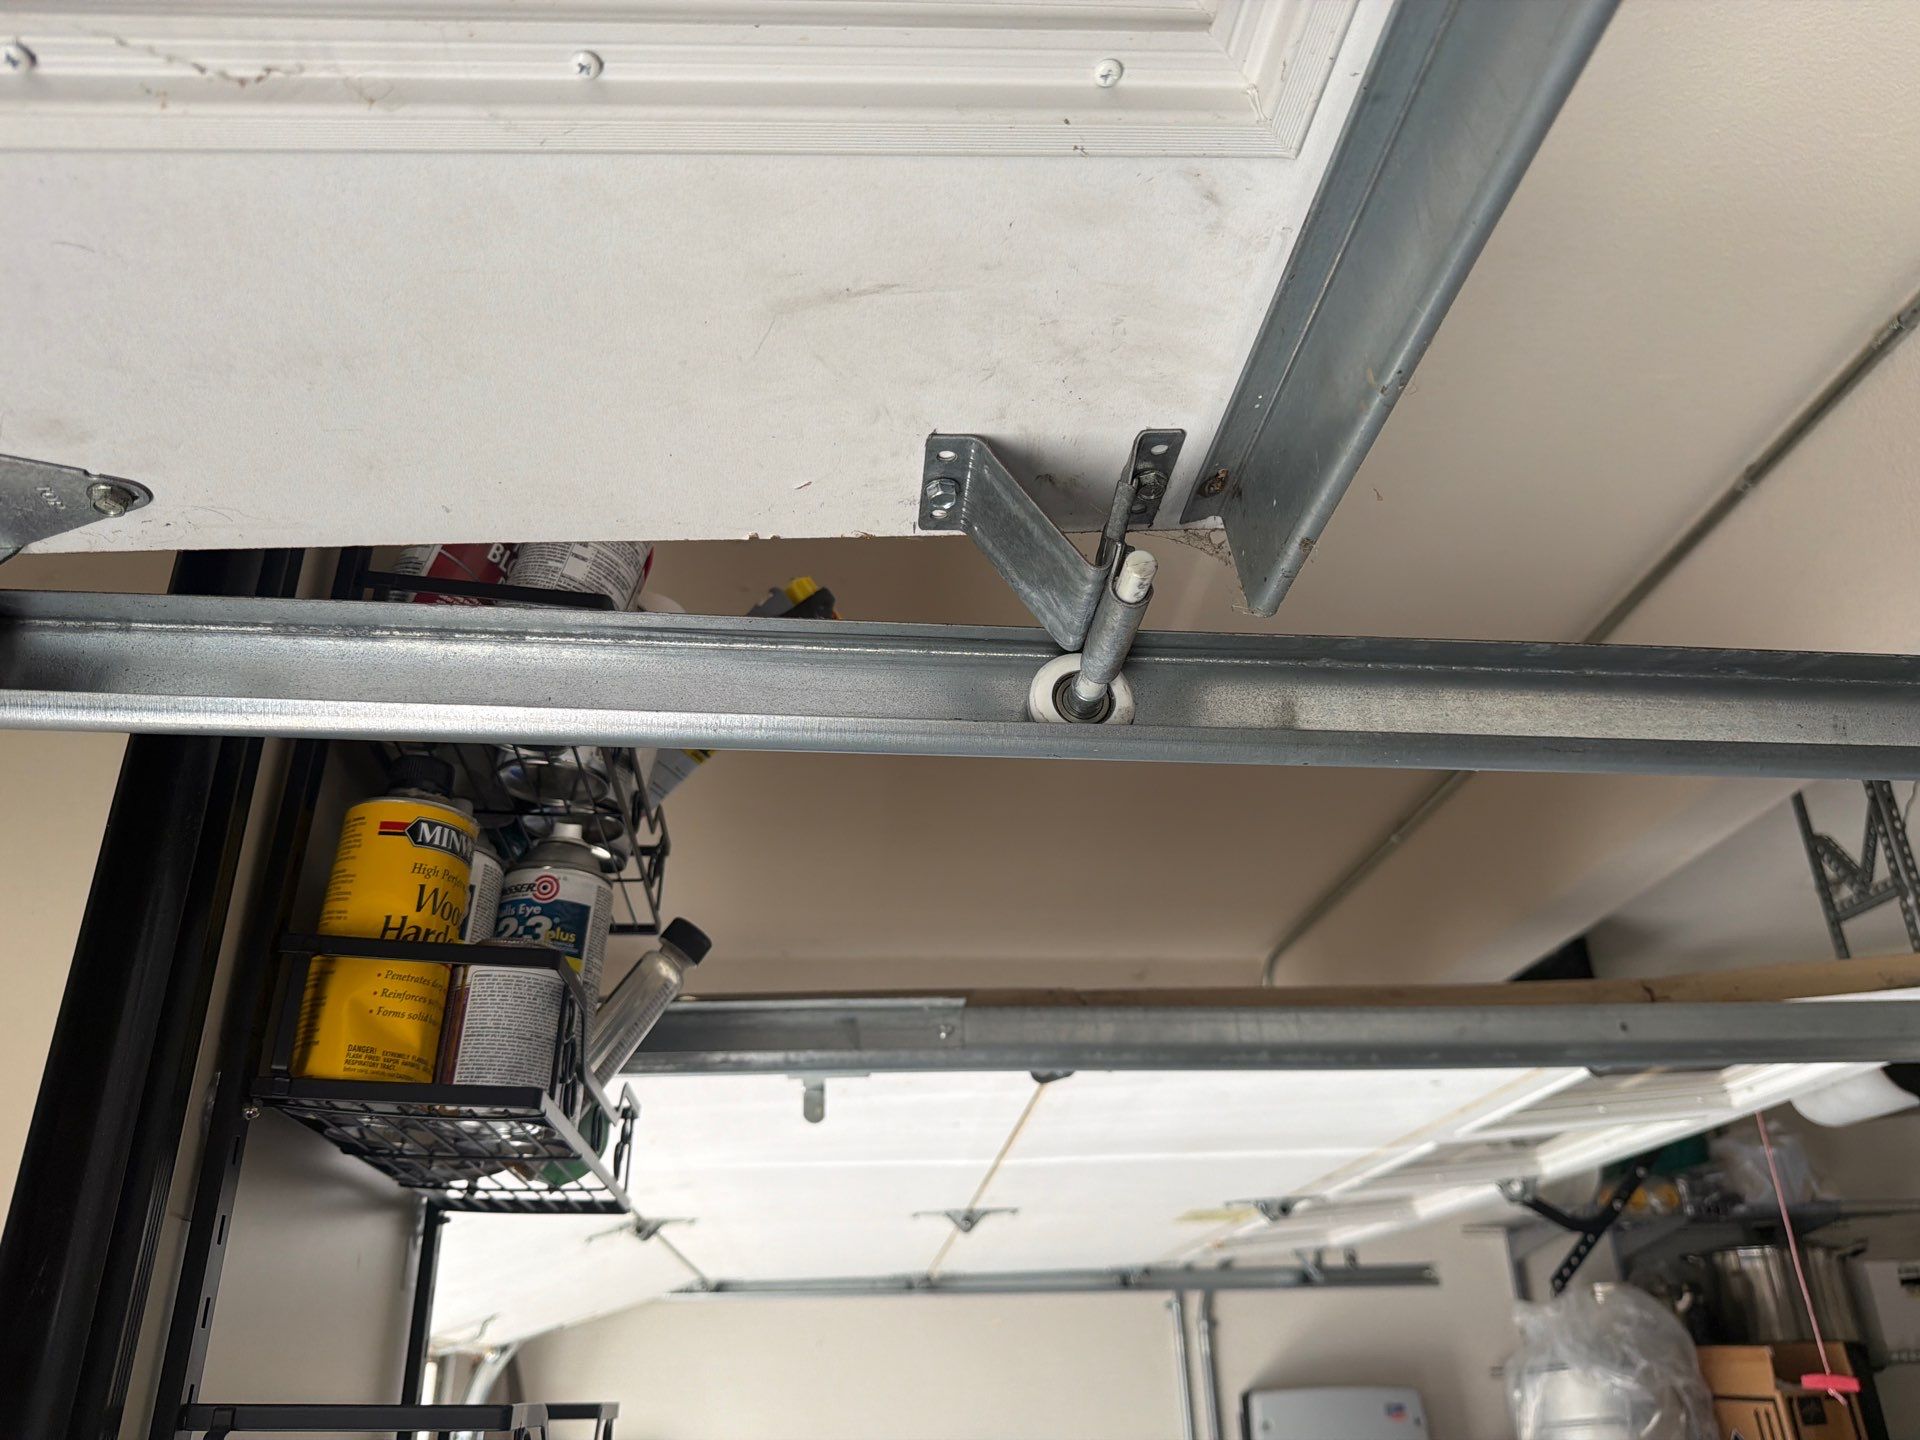
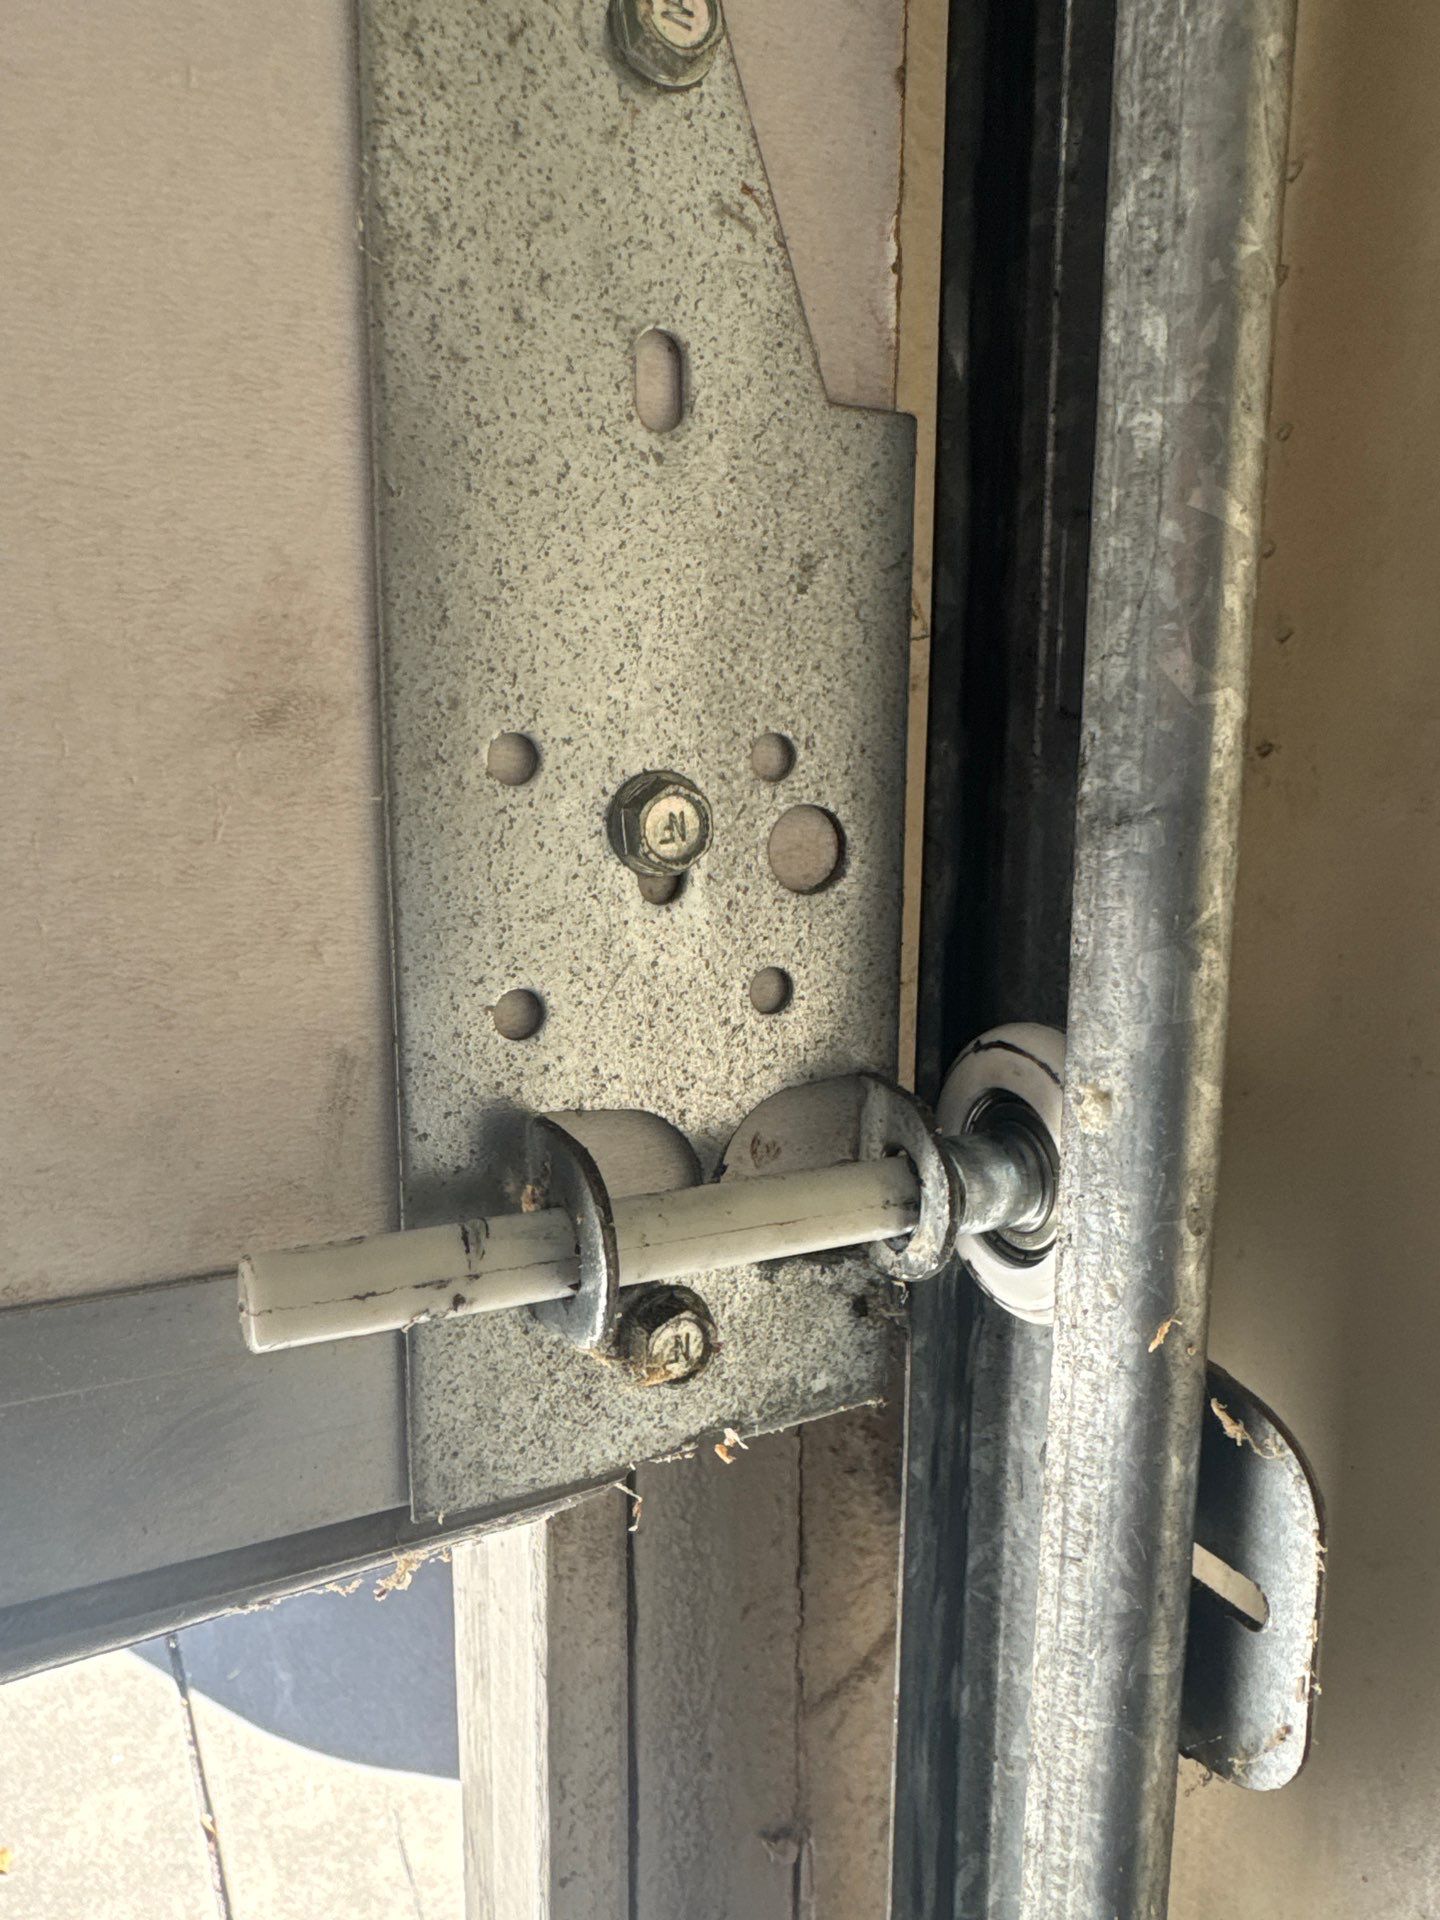
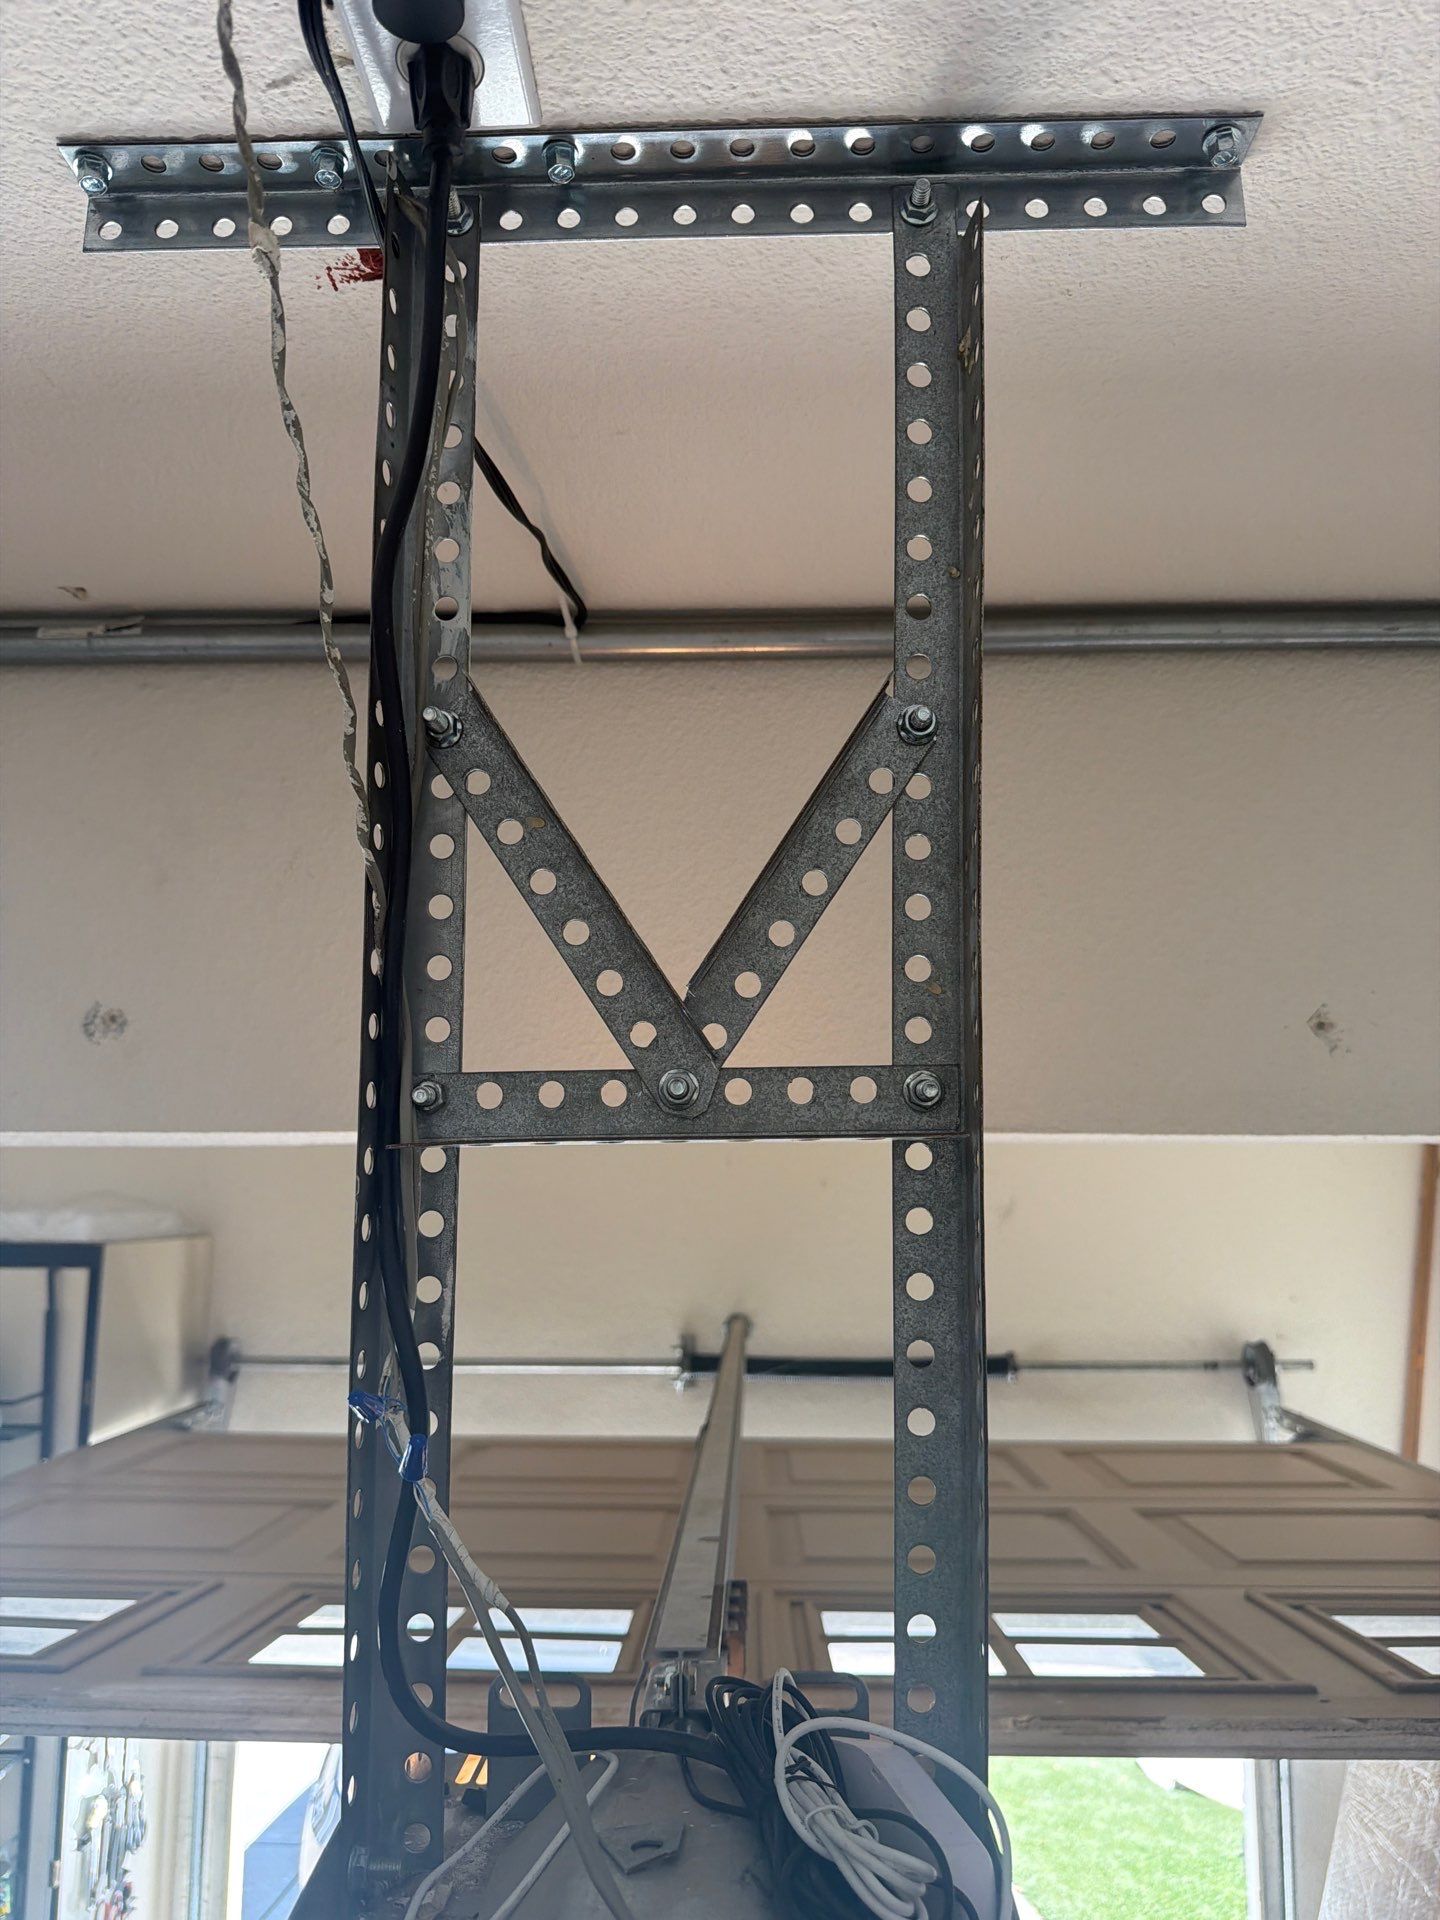
. Inspection and Assessment Visual Check: Inspect the garage door tracks, rollers, springs, cables, and mounting hardware for obvious signs of wear, rust, or damage. Balance Test: Disconnect the automatic opener and manually lift the door halfway. A properly balanced door should stay in place; if it falls or rides up, the springs need adjustment. 2. Safety Preparation Power Disconnection: Disconnect the automatic garage door opener from its power source to prevent accidental activation during the repair. Securing the Door: Use locking pliers (C-clamps) on the tracks just below the rollers to securely hold the door in place if working on it while it's raised. 3. Component Replacement (e.g., Roller Change) Track Alignment: Ensure the tracks are perfectly aligned and unbent. Replacing Rollers: Carefully remove the roller brackets (one at a time) to swap out old, worn-down rollers for new, smooth-gliding ones (such as heavy-duty nylon rollers). Note: Bottom brackets are connected to the door's high-tension springs and should only be handled with extreme caution or by a professional. 4. The "Tune-Up" (Lubrication and Tightening) Tighten Hardware: Heavy vibration from daily use loosens nuts and bolts. Tighten all hinges, brackets, and track bolts. Strategic Lubrication: Apply a high-quality lithium or silicone-based garage door lubricant to all moving parts, including: Roller bearings Hinges Torsion springs Lift cables and pulleys 5. Testing and Calibration Reconnect and Run: Re-engage the automatic opener and run the door through a few full cycles to ensure smooth, quiet operation. Safety Sensor Check: Verify that the photo-eye safety sensors are aligned properly and that the door automatically reverses if an object blocks the path.
Rollers, Garage Door Repair, valiant signature mount
Project in Dublin, CA

. Inspection and Assessment Visual Check: Inspect the garage door tracks, rollers, springs, cables, and mounting hardware for obvious signs of wear, rust, or damage. Balance Test: Disconnect the automatic opener and manually lift the door halfway. A properly balanced door should stay in place; if it falls or rides up, the springs need adjustment. 2. Safety Preparation Power Disconnection: Disconnect the automatic garage door opener from its power source to prevent accidental activation during the repair. Securing the Door: Use locking pliers (C-clamps) on the tracks just below the rollers to securely hold the door in place if working on it while it's raised. 3. Component Replacement (e.g., Roller Change) Track Alignment: Ensure the tracks are perfectly aligned and unbent. Replacing Rollers: Carefully remove the roller brackets (one at a time) to swap out old, worn-down rollers for new, smooth-gliding ones (such as heavy-duty nylon rollers). Note: Bottom brackets are connected to the door's high-tension springs and should only be handled with extreme caution or by a professional. 4. The "Tune-Up" (Lubrication and Tightening) Tighten Hardware: Heavy vibration from daily use loosens nuts and bolts. Tighten all hinges, brackets, and track bolts. Strategic Lubrication: Apply a high-quality lithium or silicone-based garage door lubricant to all moving parts, including: Roller bearings Hinges Torsion springs Lift cables and pulleys 5. Testing and Calibration Reconnect and Run: Re-engage the automatic opener and run the door through a few full cycles to ensure smooth, quiet operation. Safety Sensor Check: Verify that the photo-eye safety sensors are aligned properly and that the door automatically reverses if an object blocks the path.